Parting Line Shutoff Inspection in Plastic Injection Molds
Verifying parting line shutoff lands under true press tonnage with bluing or foil prevents flash and stops premature tool crush.
Land
Geometry of Intersecting Steel Interfaces
Primary sealing surfaces on the mold parting plane take heavy mechanical compressive loads with every injection cycle. Toolmakers build shutoff areas to isolate the cavity impression from atmospheric vents and runner channels, keeping pressurized polymer inside the part boundaries. On a flat parting plane, steel faces meet perpendicular to the clamp vector, using direct compression to stop polymer flow.
When parts require internal cutouts, side holes, or complex split lines, shutoff surfaces meet at angles relative to mold stroke. Operating under both normal compression and sliding friction, these angled interfaces wear faster, gall, and throw flash if clearance tolerances drift in production.
Tool designers split the contact face into a primary sealing land and a recessed relief pocket. The primary land is the narrow steel boundary right against the part geometry, ground flat or contoured to exact dimension. Just past this strip, toolmakers mill or EDM relief pockets, stepping the steel down by 0.50 mm to 1.50 mm.
Relieving the outer parting face focuses clamp force right on the seal instead of spreading tonnage across the full platen footprint. Calculating the surface area of these primary lands determines the minimum clamp force needed to hold back internal melt pressure without crushing the tool steel under local stress spikes.
Sizing land width involves balancing durability against sealing efficiency. Extra-wide lands demand substantial clamp tonnage to achieve adequate unit contact pressure, forcing processors into larger presses and accelerating machine wear. Conversely, overly narrow lands concentrate force on too small an area, exceeding the yield strength of hardened steel.
Unfilled resins like polypropylene or polyethylene creep into gaps as small as 0.015 mm, whereas heavily loaded materials such as 30% glass-filled polyamide 66 generally require gaps beyond 0.035 mm before flashing. Land dimensions must therefore scale with resin viscosity, filler content, and steel strength.
Flat shutoffs perpendicular to press travel take full clamp force with almost no lateral shift. Angled shutoffs turn axial clamp force into a mix of normal contact pressure and sideways thrust. At 7 degrees relative to draw, a shutoff generates enough side load to require heavy guide pillars, heel blocks, and wedge locks to hold the core steady.
Steeper angles reduce that side thrust, though they demand tighter machining tolerances to seal cleanly without binding. Standard practice calls for at least 7 degrees of draft on sliding shutoffs, with 10 to 15 degrees preferred for long runs using abrasive materials.
Relieving non-sealing parting plane steel by 0.50 mm concentrates press tonnage onto primary shutoff surfaces, raising local contact stress above melt cavity pressure.

Draft Angles and Relief Pocketing
Sliding shutoffs short on draft degrade quickly under repeated steel-on-steel friction. As the mold closes, matching male and female cores slide against each other long before reaching final position. Without enough draft, opposing steel faces rub through the entire stroke, wiping off lubricant and generating metal debris.
Micro-galling sets in on unlubricated steel within a few hundred cycles, forming micro-ridges that open up clearances and let resin in. A progressive draft angle keeps sliding faces apart through the stroke, bringing them into contact only in the last 0.20 mm of closure.
Relief pocket geometry affects mold stiffness and thermal stability over long production runs. Shops often cut relief pockets too close to cavity edges, undercutting the steel support behind the lands. Keeping at least 15 mm of solid steel between the primary land and the relief pocket boundary preserves rigidity under cyclic cavity pressures above 100 MPa.
Relief pockets also serve as collection areas for debris, grease, and outgassed volatiles, keeping contaminants off primary sealing faces. Milling cleanout channels in the relief bottoms lets press operators wipe parting lines down without dismantling side-action cores.
Telescoping shutoffs use vertical wiping faces where interlocking core components create holes in the molded part. These rely heavily on exact axial alignment between mold halves. When thermal expansion shifts the plates relative to one another, the shutoffs wipe unevenly ~ grinding down steel on one side while opening a gap on the other.
Toolmakers handle this thermal shift by mounting guided leader pin bushings in the same plate module as the shutoff inserts, decoupling shutoff alignment from thermal expansion across the main mold base.
Machining method directly dictates the surface topography of primary sealing lands. Precision surface grinding yields flat parting faces with parallel lay patterns that resist polymer creep far better than EDM surfaces. Where EDM is required for complex contours, the brittle white recast layer left by spark erosion must be removed.
Unpolished EDM finishes have microscopic peaks that flatten under initial clamping, causing rapid clearance loss and early flash. Fine hand-stoning or diamond polishing along the draw line cleans up the surface and maintains consistent seal tolerances.
| Polymer Family | Shutoff Type | Minimum Draft Angle | Land Width Range | Relief Depth | Maximum Seal Gap |
|---|---|---|---|---|---|
| Unfilled Polyolefins (PP, PE) | Flat Parting Line | 0.0 Degrees | 2.5 mm to 4.0 mm | 0.80 mm | 0.012 mm |
| Unfilled Polyolefins (PP, PE) | Angled Sliding Core | 7.0 Degrees | 3.0 mm to 5.0 mm | 1.00 mm | 0.015 mm |
| Engineering Amorphous (ABS, PC) | Flat Parting Line | 0.0 Degrees | 1.5 mm to 3.0 mm | 0.50 mm | 0.025 mm |
| Engineering Amorphous (ABS, PC) | Angled Sliding Core | 10.0 Degrees | 2.0 mm to 4.0 mm | 0.80 mm | 0.030 mm |
| Glass-Filled Polyamides (PA66-GF30) | Flat Parting Line | 0.0 Degrees | 3.0 mm to 5.0 mm | 1.00 mm | 0.035 mm |
| Glass-Filled Polyamides (PA66-GF30) | Telescoping Core Shutoff | 12.0 Degrees | 4.0 mm to 6.0 mm | 1.20 mm | 0.040 mm |
Parting line layout drives maintenance intervals and tool longevity. Complex 3D parting lines following contoured part aesthetics vary continuously in height, making bench fitting tedious. Toolmakers fit these contoured shutoffs on spot-tonnage presses, hand-scraping high spots until contact is uniform around the full perimeter.
Modern 5-axis CNC centers running high-speed finishing passes hit contour accuracies within 0.005 mm, which cuts down manual bench work. Even so, precision machining does not replace physical contact checks before initial press trials.
Wider shutoff surfaces increase required clamp tonnage without improving polymer sealing.

Foil

Bluing Ink Transfer Procedures
Transfer pigments reveal micro-gaps between matching tool components before resin ever enters the cavity. During bench assembly, toolmakers roll a thin film of high-viscosity machinist bluing ink onto one half of the parting face. Using a high-density felt roller, the technician lays down an ink layer between 0.002 mm and 0.005 mm thick.
Excess ink fills machining marks and gives false contact readings over non-sealing zones. A thin, semi-transparent blue film across the test land provides the exact coverage needed for reliable contact mapping.
Closing the tool in a bench press transfers ink from the coated side onto the bare steel shutoff opposite. Opening the mold frame exposes the transfer pattern for inspection under direct light. High spots pick up dense ink, while low areas show bare steel or spotty coverage.
Technicians take precision hand scrapers or diamond stones to work down high spots, repeating the bluing cycle until achieving a uniform 80% to 90% transfer along the primary shutoff land. Manual fitting takes patience; over-aggressive stoning drops a high spot into a permanent low pocket that requires micro-welding to fix.
Workbench bluing tests have a fundamental limitation: they evaluate tool fit under zero thermal load and minimal clamp force. A bench spot press delivers only 5% to 10% of the hydraulic clamp force applied by a production press. Because mold bases flex under full tonnage, shutoff alignment shifts relative to static bench readings.
An 80% bluing transfer verified on the bench can drop below 50% effective contact once the tool is clamped in a production press running under 3,000 kN of closure force.
Temperature differences worsen shutoff shifts while the tool runs. Cavity plates running oil heat at 140 degrees Celsius expand relative to cooler frame plates and water-cooled ejector housings. This differential expansion shifts core inserts axially within cavity shutoff pockets.
Bench tests miss these thermal movements entirely. Technicians need to run press-side bluing audits with the mold at full thermal equilibrium and under full machine clamp force to verify operational contact.
1. Clean all parting line shutoff faces thoroughly with solvent degreaser and lint-free wipes to remove oil, resin residue, and metal particles.
2. Apply an ultra-thin, continuous coat of bluing ink across the primary shutoff lands of the fixed mold half using a clean, short-nap precision foam roller.
3. Mount the mold frame in the fitting press or production machine, checking that tie-bar spacing and platen parallelism align within 0.02 mm.
4. Close the mold slowly under low hydraulic pressure until mechanical contact occurs between opposing shutoff faces.
5. Increase clamp force gradually to 30 percent of maximum rated tonnage, holding pressure for five seconds before releasing.
6. Open the press smoothly along the draw line, taking care not to drag core slides or lifters across the blued surfaces.
7. Map the resulting ink transfer across all primary lands, recording low-contact areas with a digital inspection microscope.
8. Hand-stone high spots using fine-grit Arkansas stones until transfer density is uniform over 85 percent or more of the total area.
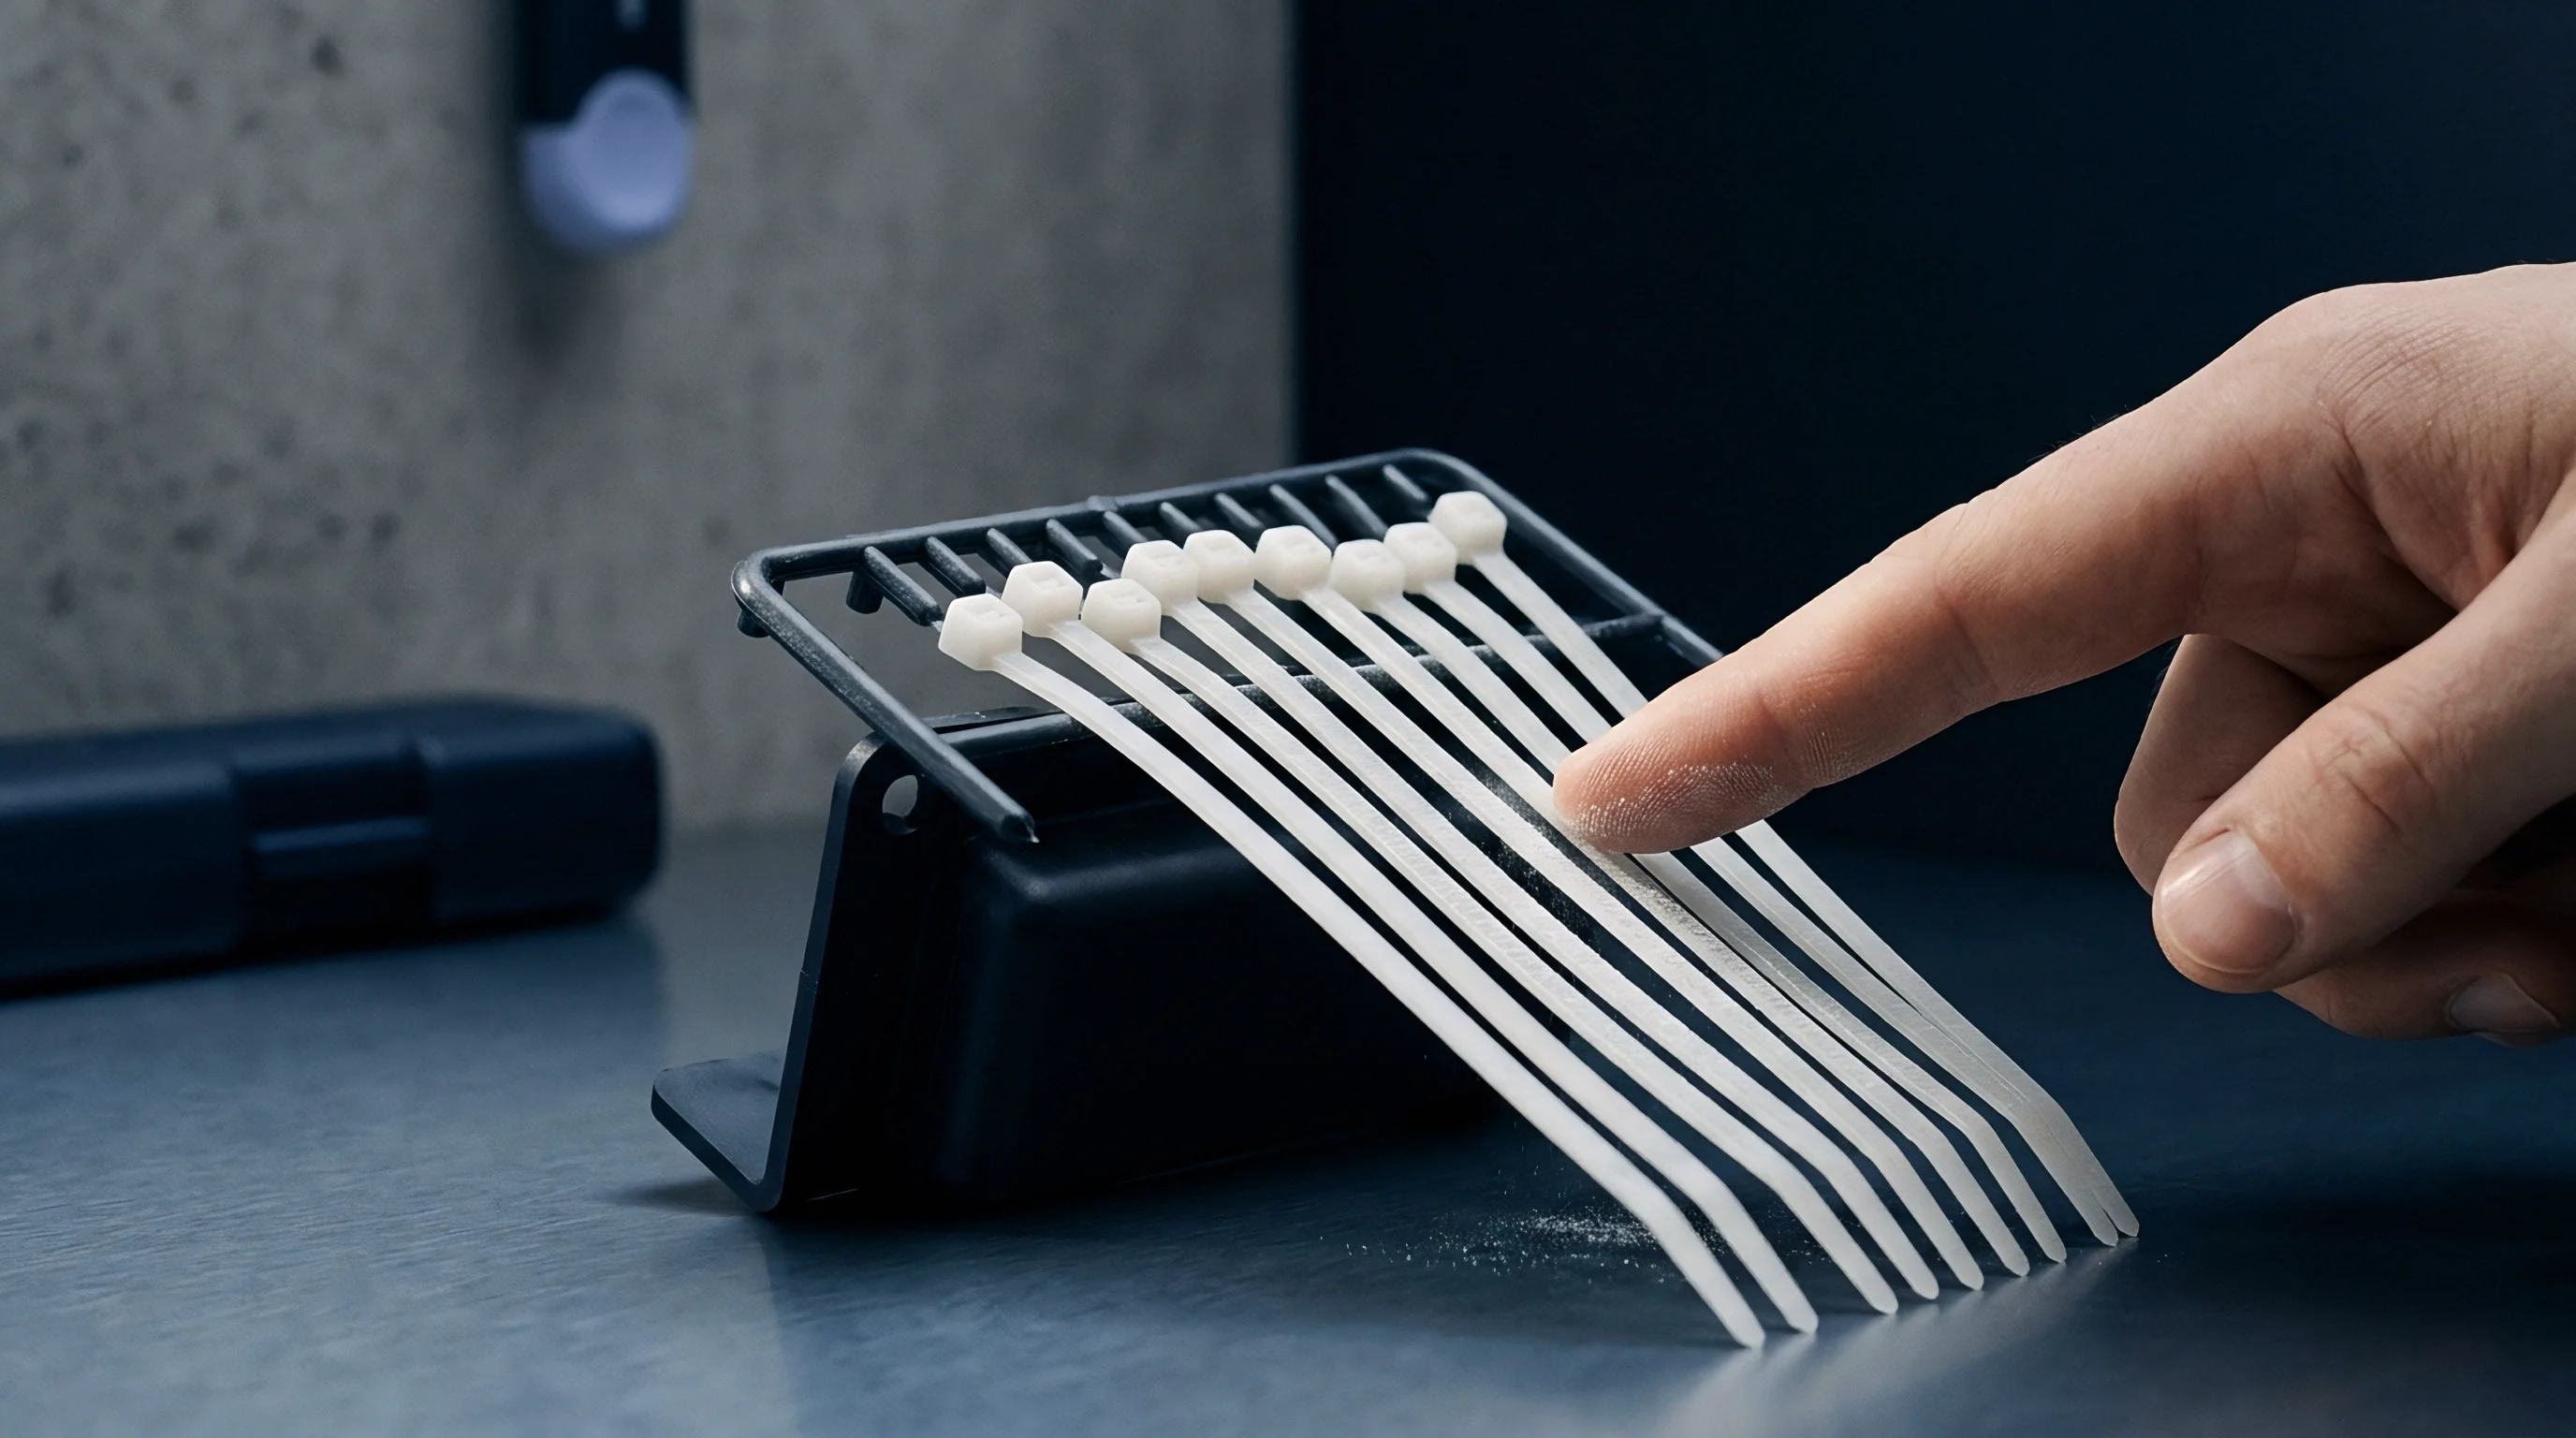
Tactile Pressure Sensor Film Calibration
Tactile pressure sensor film replaces subjective visual ink checks with quantified contact stress data. The film uses a micro-encapsulated color-forming layer paired with a developer sheet. Inserting strips along parting line shutoffs before mold closure crushes the micro-capsules in direct proportion to local compressive stress, producing a permanent color map from light magenta to deep red.
An optical densitometer reads this intensity, converting color density directly into megapascals of contact pressure using calibrated curves.
Single-sheet low-pressure film measures stress between 2 MPa and 10 MPa ~ well suited for delicate core shutoffs and narrow lands. Two-sheet medium-pressure film spans 10 MPa to 50 MPa, matching the higher stresses on primary parting planes of heavy structural tools. Using sensor film takes strict control over dwell time and ambient humidity, since capsule burst thresholds shift with moisture and closure speed.
Storing unexposed film in sealed desiccator bags keeps humidity from altering calibration curves before testing.
Sensor film thickness ranges from 0.09 mm to 0.20 mm depending on grade. Placing film in a tight shutoff adds artificial height to the parting line, shifting closure position slightly. To get accurate readings without distorting plate alignment, technicians shim surrounding stop buttons or relief lands by the film thickness during the test.
Alternatively, placing narrow strips strictly on primary shutoff lands measures local pressure without disturbing mold parallelism, provided clamp settings account for substrate compression.
Digital scanners process exposed film to build two-dimensional stress maps of the full parting plane. Software pinpoints stress spikes that risk crushing tool steel alongside low-pressure areas prone to flashing. Making tactile pressure mapping part of tool sign-off establishes an objective baseline before shipment.
Comparing production-line film scans against initial T1 baselines catches tool wear, platen tilt, or tie-bar stretch well before flash shows up on molded parts.
Tactile pressure film measurements reveal local compressive stress spikes exceeding tool steel yield strength that remain completely invisible during visual bluing ink inspection.
Light bluing spots do not reliably iron out once the mold reaches operating temperature.


Tonnage
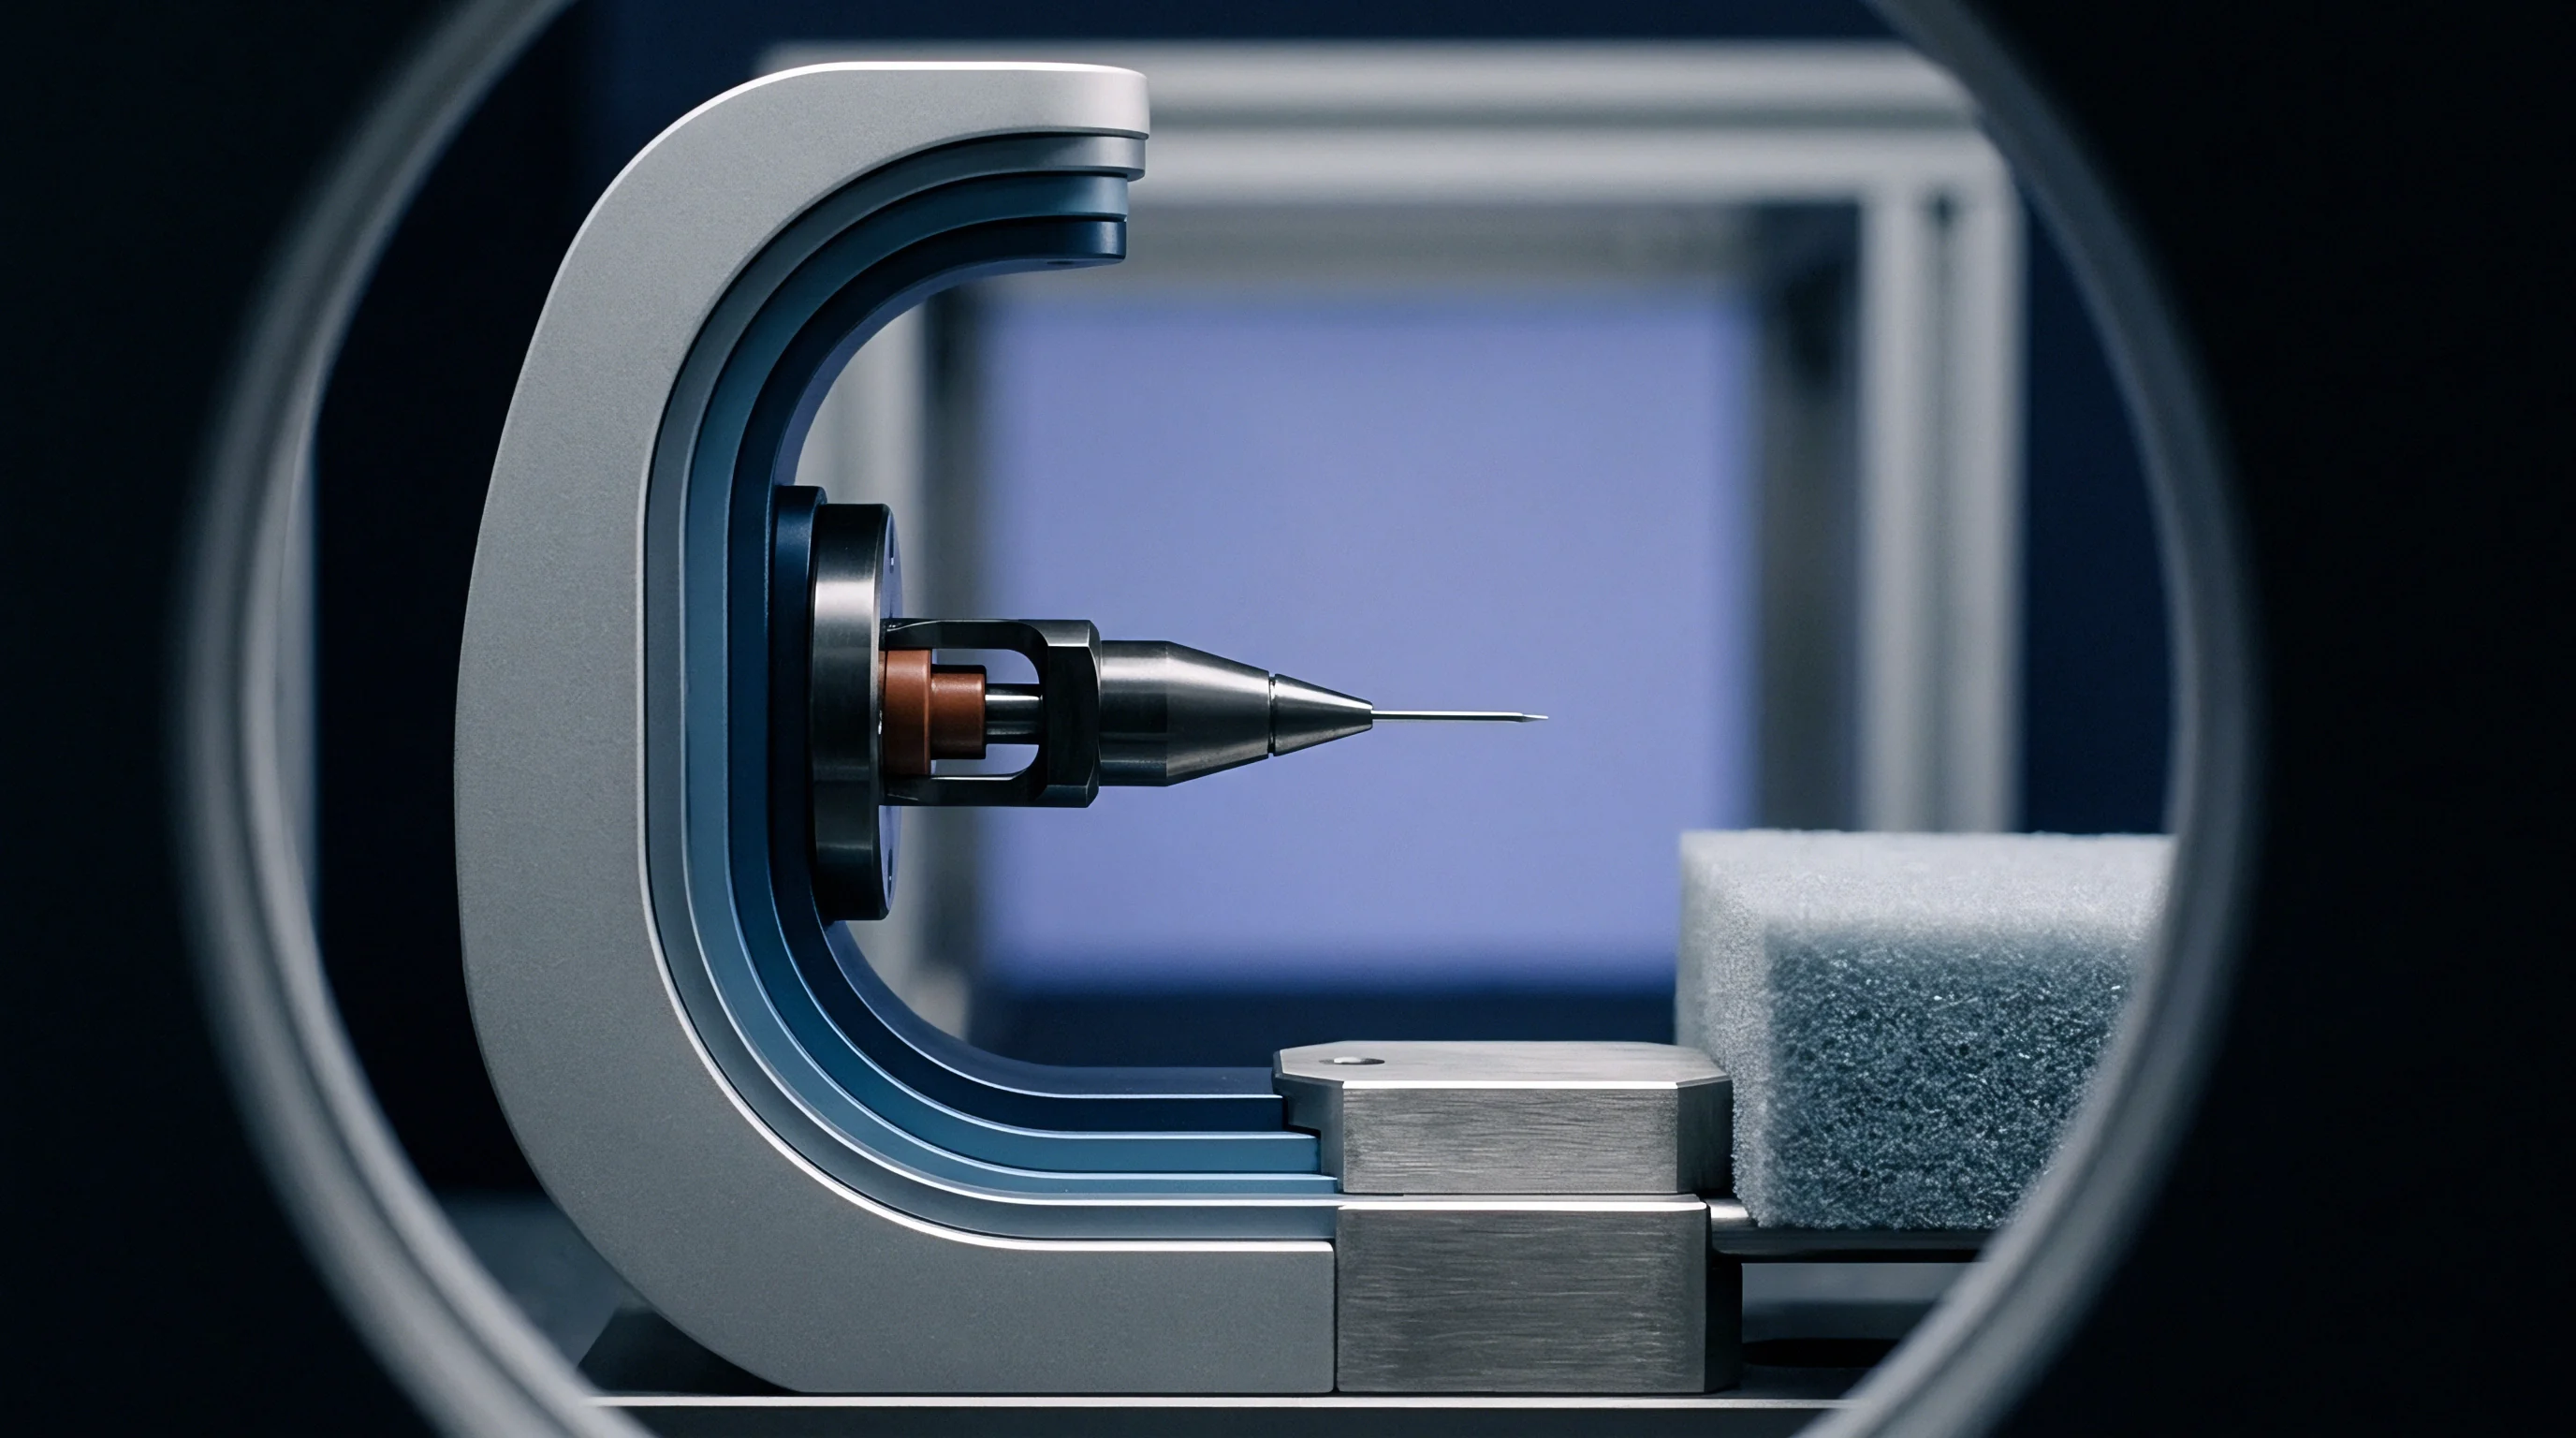
Calculating Sealing Contact Pressure
Machine clamp pressure must match the actual contact area of the parting face without exceeding the yield strength of the tool steel. Injection press clamp units exert total closing forces from tens to thousands of metric tons. When the mold locks up, this entire force rests on the unrelieved primary shutoff lands.
If land surface area isn’t balanced against press capacity, full tonnage compresses small shutoff areas under pressures over 300 MPa, driving plastic deformation, hobbing, and permanent tool damage.
Calculating minimum shutoff contact pressure requires weighing internal cavity force against applied clamp force. Melt pressure acting on the projected area of the part tries to push the mold halves apart. Peak cavity pressure during packing and holding ranges from 30 MPa for easy-flowing materials up to 150 MPa for thin-wall medical parts.
To prevent parting line separation and flash, net clamp force on the primary lands must produce a sealing pressure that exceeds peak cavity pressure by at least 30 percent.
Over-clamping accelerates tool fatigue and depresses steel around the cavity perimeter. Hardened H13 steel heat-treated to 50-52 HRC has a yield strength around 1,400 MPa. Sound tooling practice caps continuous static contact stress at 15 to 20 percent of yield, setting target shutoff pressure between 200 MPa and 280 MPa.
Keeping shutoff stress in this window avoids micro-yielding on land edges, maintaining sharp seals over millions of cycles while holding back melt.
Take a 4-cavity connector mold running in a 150-ton (1,471 kN) press. With a total projected part area of 12,000 square millimeters and a peak pack pressure of 80 MPa, internal opening force comes to 960 kN. Subtracting that from clamp tonnage leaves 511 kN of net force to load the shutoff lands.
If primary shutoff land area totals 2,500 square millimeters, average shutoff contact pressure is 204.4 MPa. That sits safely inside the 200 to 280 MPa target window for H13, holding a clean seal without risking land collapse.

Thermal Expansion and Mold Heating Effects
Thermal gradients in an operating mold alter contact pressure across the parting face. Hot runner manifolds at 280 degrees Celsius radiate heat into surrounding tool plates, driving cavity block temperatures to 120 degrees Celsius while outer mold frames stay near 30 degrees Celsius ambient. Tool steel expands at roughly 11.5 x 10^-6 per degree Celsius.
A 400 mm insert block rising 80 degrees expands axially by 0.368 mm. Unchecked expansion pushes shutoff lands out of plane, creating heavy stress spikes on central cavity blocks while lifting outer parting lines open.
Tool designers compensate for thermal growth by calculating differential expansion between cores, cavity inserts, and outer plates upfront. Hot-running inserts are designed with stand-down dimensions, sitting slightly below surrounding cold plate faces when measured at 20 degrees Celsius room temperature. Once the mold reaches operating thermal equilibrium on press, thermal expansion brings the heated inserts flush with the frame, establishing uniform contact across the parting plane.
A 16-cavity medical tool flashed continuously along outer cavities despite clean bench bluing records. Temperature logging showed central hot runner plates running 45 degrees Celsius hotter than the outer frame edges. Thermal growth had pushed central shutoffs out by 0.042 mm, taking over 80 percent of machine clamp force and starving outer lands of sealing pressure.
Balancing plate cooling circuits to establish uniform temperatures across all cavity blocks eliminated the outer cavity flash without needing more tonnage.
Tie-bar stretch and platen deflection introduce further variables to contact balance. Hydraulic or toggle clamps squeeze outer tool edges while platen centers flex outward under load. Center platen deflection of just 0.05 mm under peak tonnage drops central shutoff pressure enough for high-pressure melt to force parting lines apart.
Assessing shutoff performance means checking machine platen stiffness alongside mold rigidity to keep total deflection below plastic clearance limits.
| Tool Steel Grade | Hardness Range (HRC) | Yield Strength (MPa) | Max Allowable Shutoff Stress | Thermal Expansion (10^-6 / K) |
|---|---|---|---|---|
| P20 (1.2738) Pre-hardened | 28 – 32 HRC | 850 MPa | 130 MPa | 12.8 |
| H13 (1.2344) Standard Tool Steel | 48 – 52 HRC | 1,450 MPa | 220 MPa | 11.5 |
| S7 (1.2355) Shock-Resisting | 54 – 58 HRC | 1,650 MPa | 260 MPa | 11.0 |
| Stavax ESR (Stainless) | 50 – 54 HRC | 1,500 MPa | 230 MPa | 10.6 |
| CPM 420V Powder Metallurgy | 56 – 60 HRC | 1,900 MPa | 300 MPa | 10.2 |
Cranking up clamp force to compensate for uneven shutoff height permanently deforms land edges, guaranteeing flash on future runs.
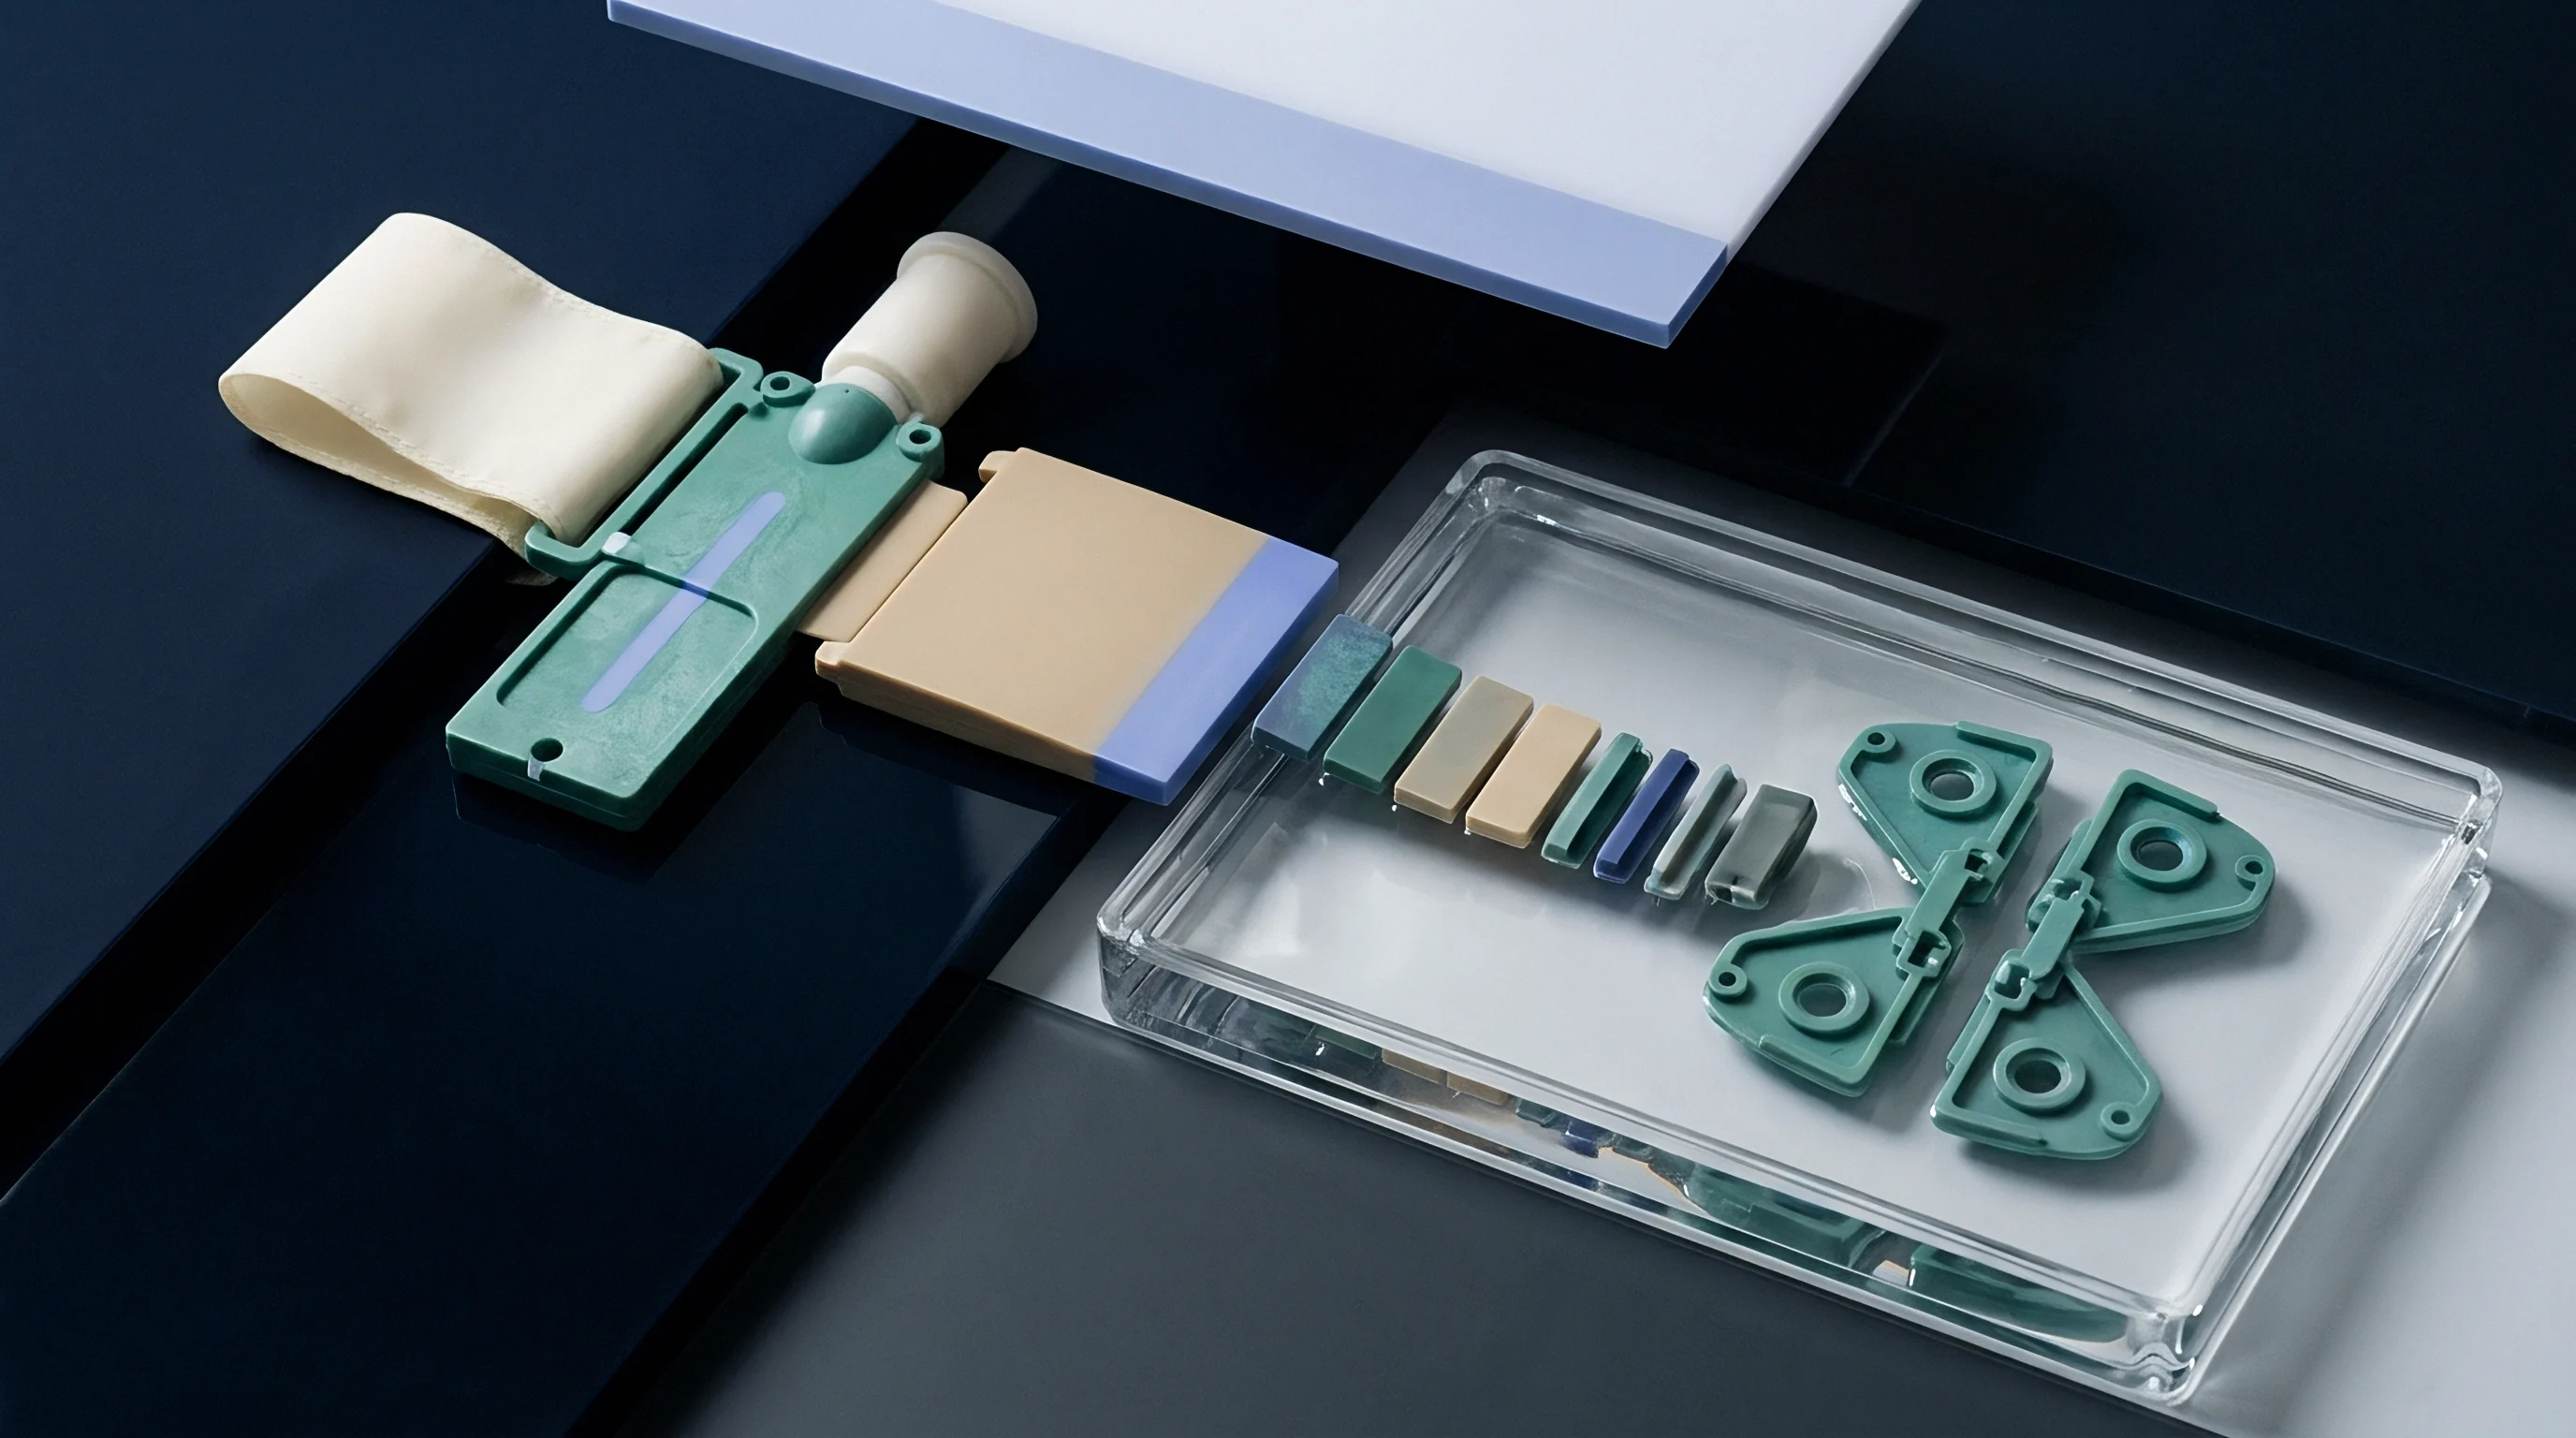
Deflection

How Does Mold Deflection Alter Shutoff Sealing?
Structural bending of mold platens and cavity insert blocks under injection pressure shifts parting lines out of alignment. As molten polymer fills the cavity, internal forces push outward against core and cavity walls. If backing plates, support pillars, or cavity wall thicknesses lack sufficient cross-section, steel components flex dynamically during injection.
Deflections as small as 0.02 mm open transient gaps along primary shutoff lands, letting plastic escape into the parting line before freezing and leaving flash on finished parts.
Static bench testing cannot catch dynamic mold flexing because bench checks measure tools without internal melt pressure. A tool can show 100% bluing transfer under static closing force yet flash severely in production. Dynamic deflection happens during high-pressure filling and packing, when peak melt pressure bows cavity side walls outward and pushes backing plates back.
Preventing dynamic shutoff failure takes FEA modeling during design to confirm structural deflection under load stays below resin flash thresholds.
Support pillar placement directly controls plate bending stiffness behind primary shutoff lands. Solid steel support pillars behind main cavity plates transfer cavity thrust directly into the press platen face. Poorly spaced pillars leave unsupported spans under high-pressure zones, letting backing plates flex inward under clamp load and outward during injection.
Placing pillars directly behind primary sealing lands minimizes plate flex, keeping shutoff contact flat throughout packing.
Interlocking features like tapered side locks and straight guide blocks control lateral plate movement under load. As cavity walls push out, side locks engage matching hardened wear plates, transferring lateral thrust into the rigid outer frame. Without solid side locking, cavity side walls bow outward, opening up vertical shutoff faces on sliding cores and lifters.
Precision-ground side locks with preloaded fits tie mold halves into a rigid structural box, preventing dynamic parting line separation under peak injection pressure.

FEA Simulation versus Bench Test Results
Finite element analysis software models dynamic plate deflections under simulated cavity pressure. Engineers set boundary conditions for platen restraint, clamp tonnage, and localized melt pressure across cavity surfaces. FEA models calculate stress distributions and displacement vectors through internal tool components, identifying plate bending, support pillar compression, and gap opening distances long before steel reaches the CNC mill.
Comparing FEA predictions against bench bluing and press-side pressure film audits validates model assumptions. Differences between simulated deflection and test results usually come from unmodeled bolted joint flex or uneven platen surfaces on older presses. FEA models often treat plate interfaces as fully bonded solid bodies, but real tool plates experience micro-separation across bolted joints under heavy cyclic loads.
Factoring joint compliance into FEA models yields far more accurate predictions of dynamic shutoff gap movement in actual press conditions.
Cavity breathing analysis measures transient parting line expansion during injection. Technicians mount high-resolution inductive proximity sensors or LVDTs to outer mold frames on press to record real-time separation. Data acquisition systems log displacement curves alongside cavity pressure transducer signals.
The data shows parting line gap opening tracks cavity pressure spikes precisely, confirming that dynamic tool flex ~ not static bench misalignment ~ drives parting line flash.
Thicker mold plates cure dynamic deflection issues far more effectively than cranking up press clamp force. Increasing main cavity plate thickness by 20 percent boosts bending stiffness by over 70 percent, since stiffness scales cubically with thickness. Placing heavy-duty support pillars directly beneath primary shutoffs adds immediate resistance against cavity thrust.
Upgrading plate thickness during design adds little tooling cost while permanently preventing the dynamic flex that ruins part cosmetics and shortens tool life.
Dynamic parting line separation under peak pressure proceeds through distinct mechanical stages during injection.
Whether sensor-based dynamic gap monitoring can economically replace offline bluing inspection in high-speed production remains open to debate.
Crush

Preload Specification and Hobbing Risk
Deliberate compressive interference built into sliding core faces and telescoping inserts ensures a positive polymer seal at mold lockup. Toolmakers call this mechanical interference shutoff preload or steel crush. Sizing a core slide insert to stand 0.015 mm to 0.030 mm proud of surrounding parting plane steel forces the slide to absorb positive compression as the press clamps shut.
This preload compensates for plate flex and thermal movement, maintaining metal-to-metal contact pressure across sliding shutoffs through the entire molding cycle.
Excessive preload leads to steel hobbing ~ a failure mode where hard shutoff edges sink permanently into softer opposing plate steel. When local contact stress exceeds the compressive yield strength of the tool material, the steel deforms plastically, sinking the land profile into the plate. Once hobbed, the permanent depression leaves an open clearance gap whenever the tool runs without maximum preload, causing constant flash.
Preventing hobbing requires careful balancing of preload heights and insert steel selection.
Matching thermal expansion rates between sliding inserts and surrounding pockets prevents uncontrolled preload growth. Over extended production runs, sliding cores often run hotter than outer mold bases due to tight cooling access in narrow core geometry. A slide operating 30 degrees Celsius hotter than its pocket expands outward, pushing shutoff crush past safe limits.
Building dedicated cooling circuits directly inside sliding core bodies stabilizes steel temperatures, keeping shutoff preload within design limits.
Telescoping shutoffs require step-crush geometry to keep edges from rolling during assembly. Designers place a 0.020 mm relief step on non-sealing lead-in faces so initial sliding contact happens without heavy interference. The sealing land engages preload only during the final 0.15 mm of press closure.
This stepped detail protects sharp shutoff corners from chipping, reducing wear and preventing early flash on complex internal cutouts.
Maintenance Protocols for Degraded Shutoff Steel
Parting line shutoffs take constant mechanical wear, micro-abrasion, and outgassing corrosion over production lifespans. Outgassing from flame-retardant resins or PVC releases corrosive vapors that etch polished lands, pitting sealing faces and opening up micro-gaps. Standard preventative maintenance calls for stripping mold plates down for shutoff inspection under magnification every 50,000 cycles.
Technicians inspect land edges under 40x optical magnification, looking for micro-chipping, rounding, pitting, and hobbing depressions.
Repairing worn or damaged lands requires micro-welding followed by re-machining to nominal dimension. Laser micro-welding lays thin beads of matching tool steel wire onto damaged edges with minimal heat input, avoiding thermal distortion in nearby cavity geometry. Technicians surface-grind or hand-stone the weld deposits back down to nominal shutoff height, verifying fit with press-side bluing tests.
Micro-welding restores worn shutoffs to drawing tolerance, extending tool life without replacing full cavity plates.
1. Inspect Degraded Lands : Evaluate worn shutoff lands under 40x optical magnification, marking low spots, rounded edges, and hobbing depressions with layout dye.
2. Clean Surface Cavities : Remove thermal scale, oil films, and resin outgassing deposits from repair zones in ultrasonic solvent baths.
3. Deposit Micro-Welding Wire : Weld damaged land boundaries using a micro-laser unit with 0.20 mm H13 wire, keeping heat input low to prevent plate warping.
4. Stone Welded Interfaces : Grind and hand-stone weld deposits flush with surrounding parting plane datums, keeping lay lines parallel to the draw vector.
5. Perform Bluing Audits : Re-verify contact distribution using 0.002 mm bluing ink transfer tests in a spot-tonnage fitting press.
6. Re-establish Clearance Reliefs : Recess surrounding relief pockets by 0.50 mm to restore concentrated clamp tonnage on the repaired primary lands.
Laser micro-welding deposits tool steel onto worn shutoff edges with heat-affected zones under 0.10 mm, preserving underlying plate temper while restoring sharp sealing boundaries.
Tool procurement contracts that specify maximum allowable parting line flash under DIN 16742 Grade 4 shift repair liability to the toolmaker if shutoff lands deform before fifty thousand cycles.


Dispute

Standardized Flash Measurement Protocols
Commercial disputes between molders and tooling buyers usually turn on whether parting line flash comes from press miscalibration or improper tool construction. When molded parts show flash beyond drawing specs, buyers demand tool modifications at the toolmaker’s expense. Toolmakers defend their work by pointing to bad platen parallelism, uneven tie-bar loading, or excessive pack pressure from press setters.
Resolving these disputes takes standardized, objective flash measurement combined with certified press calibration audits.
International standard DIN 16742 defines tolerance groups for plastic molded parts, setting explicit flash height limits by resin type and application grade. Grade 4 allows up to 0.05 mm flash for general commercial parts, while Grade 2 for high-precision optical components caps flash under 0.010 mm. Flash measurement protocols require non-contact optical measuring systems or 3D laser profiling microscopes to measure flash extension past nominal part lines.
Using manual calipers gives inconsistent results because the soft flash edge deforms under probe pressure.
Establishing explicit flash measurement procedures in initial purchase orders prevents costly contract disputes later. Purchase agreements should define measurement locations, inspection lighting angles, magnification levels, and acceptable flash thickness thresholds. Standard protocols call for measurements at critical shutoffs under nominal process conditions verified with calibrated cavity pressure sensors.
Clear non-conformance criteria protect buyers from substandard tooling while giving toolmakers concrete targets for sign-off.
Cavitation balance testing verifies uniform shutoff contact across multi-cavity tools. In a 32-cavity mold, subtle variations in cavity block height cause uneven clamp force distribution, seating lower cavities tight while higher cavities flash. Technicians run short-shot fill trials without pack pressure to confirm melt reaches all cavity shutoffs simultaneously.
If short shots show balanced fill but certain cavities flash under full packing pressure, the cause points straight to shutoff height variations or local plate flex rather than runner imbalance.
Commercial Allocation of Retooling and Repair Costs
Tooling sign-off dossiers document tool readiness before final payment releases. A complete T1 sign-off package includes certified 3D CMM inspection reports, 85% minimum bluing transfer records, tactile pressure film scans, and data from a 500-cycle continuous production trial. Including pressure film scans in the acceptance package proves shutoff contact pressure met specifications before shipment, shifting liability to the molder if press settings later exceed steel yield limits.
In one dispute, a buyer withheld a final 30 percent tooling payment, claiming a 64-cavity medical tool produced 0.04 mm flash along central parting lines during initial production. The toolmaker produced baseline T1 pressure sensor films showing uniform 220 MPa contact stress across all 64 cavities on their bench press. Inspection of the buyer’s press revealed 0.06 mm of center platen bowing caused by worn tie-bar bushings.
The baseline sensor film records proved the mold steel met specification, requiring the buyer to release payment and repair their press.
Tooling warranties must separate normal mechanical wear from premature shutoff failure caused by poor design or bad press setup. Standard warranties guarantee shutoff performance for 1,000,000 cycles, provided non-abrasive resins are processed within specified temperature and pressure limits. If unfilled polyolefins cause shutoff flash before 250,000 cycles, the failure points to inadequate land area or soft steel selection, requiring toolmaker-funded micro-welding and re-grinding under warranty.
| DIN 16742 Tolerance Class | Application Category | Max Allowable Flash Height | Required Measuring Instrument | Liability Allocation Window |
|---|---|---|---|---|
| TG2 (High Precision) | Optical & Medical Connectors | 0.010 mm | Non-Contact 3D Optical Profilometer | First 100,000 Cycles / Toolmaker Warranty |
| TG4 (Standard Commercial) | Consumer Electronics Enclosures | 0.050 mm | 20x Optical Toolmakers Microscope | First 500,000 Cycles / Shared Liability |
| TG6 (Coarse Industrial) | Under-Hood Automotive Housings | 0.100 mm | Tactile CMM Probe with Light Touch | First 1,000,000 Cycles / Molder Wear Item |
| TG8 (Low Precision) | Structural Construction Fittings | 0.200 mm | Optical Comparator / Gauge Blocks | Production Sign-Off / Molder Maintenance |
Retooling costs escalate fast when unapproved shutoff modifications happen on the shop floor. Press setters often try to stop parting line flash by grinding stop buttons or cranking clamp force beyond rated limits. These unauthorized tweaks crush primary lands, ruining tool geometry and voiding warranties.
Strict management-of-change rules must require written engineering sign-off and repeated bluing verification before any physical steel modification is made.
Long-term success in high-volume injection molding relies on disciplined parting line maintenance backed by clear contracts. Documenting shutoff land geometry, enforcing tactile pressure film verification, maintaining thermal balance across plate modules, and following international flash standards protects both buyers and molders from early tool failure. Systematic shutoff inspection turns parting line maintenance from an emergency reaction into a predictable, controlled operational cost.