Parting Line Steel Preload Calculation for Multi Cavity Injection Moulds
Calculate multi cavity parting line preload by balancing machine clamp force against internal hydraulic separation force to maintain positive shut-off land sealing stress.
Shut

Parting Line Mechanics in High Cavitation Moulds
Multi-cavity injection moulding tools rely on solid mechanical closure along the parting line to contain pressurized polymer during injection and holding. Internal cavity pressure pushes against core and cavity surfaces, generating heavy separation forces that try to wedge the mould halves open. When the clamp locks, that tonnage spreads across every structural surface along the parting plane.
Uncontrolled force distribution causes localized steel flexure, plastic flash along part edges, and accelerated wear on shut-off faces. Sizing the shut-off land geometry creates a predictable stress state across the tool face, sealing the mould tightly without exceeding the compressive yield limit of the tool steel.
Shut-off lands form the primary sealing perimeter around each cavity and runner channel. Outside these functional land zones, clearance gaps ~ often called steel relief or ground clearances ~ drop the parting line back by 0.50 mm to 1.50 mm. Relieving non-sealing areas forces clamp tonnage onto the active sealing surfaces.
Without deliberate steel relief, clamp tonnage spreads across hundreds of square centimeters of non-critical backing plate steel, diluting contact pressure around the cavities. Low contact pressure along cavity borders lets internal pressure force open micro-gaps at the parting line, producing plastic flash that spoils component dimensions and requires manual trimming.
Designing multi-cavity parting lines comes down to balancing sealing pressure against compressive stress. In an eight-cavity or sixteen-cavity tool, the total surface area of all shut-off lands determines how much clamp force each square millimeter of steel takes before injection starts. If lands are excessively wide, achieving adequate sealing stress takes huge clamping force.
Make them too narrow, and concentrated tonnage pushes localized stress past the yield strength of hardened tool steel, hobbing or deforming the cavity edges permanently. Tool designers typically set shut-off land widths between 3.0 mm and 8.0 mm around cavity perimeters, scaling that width to match cavity depth, projected part area, and peak injection pressure.
Narrower shut-off lands seal faster under initial clamp tonnage but accelerate compressive yield along the cavity perimeter over extended production runs.
Dividing the parting line into primary shut-off lands and secondary support pillars preserves structural alignment across large mould frames. Support pillars set in the outer mould frame absorb structural deflection without loading the cavity inserts directly. In multi-cavity tools running high-viscosity engineering polymers, injection pressure in central cavities often runs higher than in peripheral cavities because of runner friction.
Those uneven hydraulic lifting forces flex cavity plates and open parting lines near central gates. Positioning preload lands and support blocks strategically counteracts that plate flexure, maintaining a uniform seal across every cavity in the mould layout.

Shut-Off Land Width Selection and Contact Stress
Calculating contact stress along the parting line starts with isolating the net contact area of all mating shut-off lands. Core and cavity inserts must meet completely flat under zero load before any preload step is ground into the tool frame. When toolmakers apply Prussian blue transfer paste during bench fitting, full transfer across 100 percent of the shut-off perimeter proves true planar contact.
If a parting line displays incomplete blueing contact under bench checks, total clamp tonnage will shift onto isolated high spots in the press, crushing them the moment the clamp locks up.
Finding initial static compressive stress comes down to dividing total machine clamp force by total shut-off land contact area. For example, a tool with 120 square centimeters of total shut-off land area mounted in a 3000 kilonewton press sees an average static contact stress of 25 megapascals across the land surfaces at full clamp lockup. Injecting glass-filled polyamide at 1200 bar peak cavity pressure alters this internal force balance dynamically.
High internal pressure drops the net compressive stress on shut-off lands while shifting hydraulic lifting force onto the tie bars and backing plates. Sizing shut-off land areas ensures that static compressive stress stays at least 30 percent higher than peak hydraulic lifting stress throughout the cycle.
High-cavitation tools ~ such as 32 or 64 cavities for packaging or medical parts ~ typically use floating cavity inserts mounted within rigid main plates. Individual floating inserts accommodate localized thermal expansion and permit micro-adjustment of preload height. Toolmakers fit shim plates behind each insert, grinding them in 0.005 mm increments to fine-tune parting line preload height.
Precision adjustment keeps minor manufacturing variations in insert height from causing huge force swings across the parting plane. Micro-stepping insert heights maintains identical sealing conditions across all cavities, keeping tall inserts from flashing while shielding recessed inserts from blowing out under pressure.
Uncontrolled flash on multi-cavity parting lines triggers immediate maintenance downtime and scrap spikes. When contact stresses exceed design limits, parting lines tend to breakdown through several specific structural modes:
- Parting Line Hobbing occurs when local contact stress exceeds tool steel yield strength, sinking cavity edges into opposing plate faces and leaving permanent flash grooves.
- Corner Fatigue Cracking develops around sharp land radii from cyclic stress concentration during clamp lockup and high-pressure injection cycles.
- Core Side Washing happens when high-velocity resin melt erodes shut-off land corners where sealing pressure drops below local cavity fluid pressure.
- Plate Flexure Separation opens micro-gaps across central cavities when backing plate deflection under injection pressure exceeds static preload force.
- Thermal Expansion Crushing occurs when heat from the hot runner system expands core inserts faster than outer frame plates, driving local shut-off contact stress past safe material limits.
Parting line separation is frequently attributed to machine platen flexure rather than inadequate steel preload calculation, but this explanation usually masks poor structural design within the mould frame itself. Proper land area selection and verified preload calculations prevent steel separation under rated press tonnage regardless of minor platen deflection. Getting parting line preload right demands integration of plate bending mechanics, thermal expansion coefficients, and material yield strength metrics.

Deflection

Structural Deflection under Dynamic Cavity Pressure
Injecting molten resin into a multi-cavity mould at pressures up to 1500 bar creates forces strong enough to flex core and cavity plates. Backing plates behave like loaded beams supported by press platens and internal support pillars. As molten plastic fills cavity spaces, hydraulic pressure pushes core inserts away from cavity inserts, bending supporting tool steel plates outward.
Plate bending changes the parting line gap dynamically during the injection cycle. If plate deflection at the tool center exceeds the elastic compression of the shut-off lands, the parting line opens, allowing plastic melt to penetrate between steel faces and form flash.
Quantifying plate deflection demands analyzing the mould assembly as an elastic structural system subjected to combined bending and compression. The central region of a multi-cavity plate sees maximum bending moment because distance to press support points is widest along the tool centerline. Central cavities experience the highest risk of parting line separation under peak injection pressure.
Core plates back up individual inserts, passing loads into ejector housing walls and support pillars. Insufficient support pillar density behind core plates causes core sinking over time, altering cavity dimensions and reducing sealing force around central cavities.
Engineers calculate plate bending deflection using classic beam and plate flexure equations adapted for tool plate boundary conditions. Deflection at the plate center scales directly with internal cavity pressure and the cube of plate span distance, and inversely with steel elastic modulus and the cube of plate thickness. Doubling plate thickness reduces structural bending by a factor of eight, establishing plate thickness as the primary variable for controlling deflection in multi-cavity moulds.
When weight or daylight limits cap plate thickness, placing heavy support pillars directly behind high-pressure cavity zones adds stiffness without increasing stack height.
The elastic modulus of a chosen tool steel grade dictates how much deformation occurs under clamp and cavity loads. Common tool steels share similar elastic moduli at room temperature, though heat treatment and elevated operating temperatures reduce stiffness. The table below lists critical physical properties governing deflection and preload behavior across standard mould steels and copper alloys used in high-performance multi-cavity tooling:
| Material Designation | Standard Standard Grade | Elastic Modulus (GPa) | Yield Strength (MPa) | Thermal Expansion (10^-6 / K) | Hardness (HRC) |
|---|---|---|---|---|---|
| 1.2343 / H13 | AISI H13 Hardened | 210 | 1650 | 11.8 | 50 – 54 |
| 1.2311 / P20 | AISI P20 Pre-hardened | 205 | 900 | 12.2 | 28 – 32 |
| 1.2083 / 420 SS | AISI 420 Stainless | 200 | 1500 | 10.6 | 48 – 52 |
| 1.2738 / P20+Ni | AISI P20 Nickel | 205 | 980 | 11.5 | 30 – 34 |
| Ampcoloy 940 | Copper Beryllium Free | 135 | 680 | 17.0 | 28 – 32 |
Ampcoloy copper alloys offer exceptional thermal conductivity for fast cycle times, but their lower elastic modulus permits nearly double the mechanical deflection of standard tool steels under equivalent loading. Combining copper alloy inserts with steel backing plates requires careful deflection modeling. Copper inserts compress more easily under static clamp load, shifting structural clamp force onto surrounding steel land areas.
Tool designers calculate differential elastic compression between dissimilar metals to prevent copper inserts from sinking or suffering premature compressive fatigue under high cycle counts.

Plate Bending Modes in Multi Cavity Layouts
Multi-cavity tool layouts organize cavities in rectangular matrices, circular rings, or linear rows. Rectangular matrices, such as four-by-eight or four-by-sixteen layouts, concentrate hydraulic force near the geometric center of the plate assembly. Linear layouts spread cavities along the horizontal centerline, generating wide bending spans across the tool width.
Analyzing force distribution across different cavity configurations shows that outer cavities experience different structural stiffness compared to inner cavities. Inner cavities rest on plate sections subjected to maximum bending moments, while outer cavities sit near rigid mould frame sidewalls.
Non-uniform plate deflection across a multi-cavity layout creates variable part weights, dimensional drift, and localized parting line wear. Under peak packing pressure, central cavity plates deflect outward by 0.02 mm to 0.05 mm while perimeter plate edges remain fixed. This differential deflection changes the local volume of central cavities, causing central parts to hold more plastic mass than perimeter parts.
Molders adjusting packing pressure to eliminate sink marks on central parts end up flashing outer cavities because outer parting lines lack the elastic compliance present in the center of the tool frame.
Preloading the parting line compensates for anticipated plate deflection by pre-stressing critical tool zones in the opposite direction of injection forces. Ground steel preload steps, engineered into insert faces or backing blocks, force core and cavity plates to bend inward slightly when clamped empty. When injection pressure surges during cavity filling, internal hydraulic force pushes against pre-bent plates, relaxing preload stress while holding the parting line gap at absolute zero.
Designing preload steps matches initial elastic steel strain to peak dynamic deflection under maximum cavity packing pressure.
Calculating the correct preload step height demands combining finite element stress analysis with localized beam deflection formulas. Tool designers calculate total cavity projected area, multiply by peak cavity packing pressure, and determine total separation force. Next, designers calculate plate deflection under that separation force assuming rigid machine platen backing.
The calculated deflection height defines the minimum required pre-load step ground into the shut-off lands. If calculated center plate deflection equals 0.030 mm under full injection load, the toolmaker grinds a 0.030 mm raised steel step onto central shut-off lands relative to perimeter support surfaces.
Failing to calculate plate deflection and preload height accurately destroys tool longevity and cycle consistency across multi-cavity operations. Inaccurate calculations lead directly to several operational failures:
- Excessive Preload Height crushes shut-off steel during cold setup, exceeding yield strength and permanently deforming the tool before the first shot is injected.
- Insufficient Preload Height permits parting line separation during peak packing pressure, generating heavy flash, part weight variation, and short shots in peripheral cavities.
- Asymmetric Preload Distribution twists mould plates during clamp lockup, inducing binding in slide mechanisms, ejector pins, and alignment leader pins.
- Uncompensated Support Pillar Compression allows core backing plates to sink under repetitive clamping force, gradually reducing effective preload over months of continuous production.
Ignoring structural deflection during tool design transforms high-cavitation production into continuous troubleshooting. Parting line gaps that open by just 0.015 mm allow easy-flowing polymers like polyamide or polyoxymethylene to flash instantly, clogging vents and damaging core shut-offs. Machining plates thick enough to limit deflection below 0.010 mm without preload often results in oversized tools that exceed press daylight limits.
Engineering calculated preload steps into optimized plate thicknesses delivers stable parting line sealing, controlled part dimensions, and compact mould dimensions.
Arithmetic
Mathematical Model for Preload Step Sizing
Calculating parting line preload for multi-cavity tooling relies on force equilibrium equations balancing clamp force, cavity hydraulic force, and elastic steel deformation force. Machine clamp tonnage must exceed total internal hydraulic force generated by plastic melt inside cavities and runner channels. Furthermore, clamp tonnage must compress shut-off lands sufficiently to maintain positive sealing pressure at all times.
The total static clamp force applied by the injection moulding machine partitions into two distinct force components across the mould parting plane:
F_clamp = F_preload + F_hydraulic
Where F_clamp represents total machine clamping force, F_preload represents compressive force acting across all shut-off lands, and F_hydraulic represents total fluid lifting force exerted by resin inside cavities and runners. F_hydraulic equals the sum of each cavity’s projected area multiplied by its internal fluid pressure, plus runner channel area multiplied by runner pressure. Internal cavity pressure varies spatially, dropping from gate location to end of fill.
Precision calculation uses average cavity pressure, typically estimated at 60 percent to 75 percent of peak injection pressure applied by the injection screw.
F_hydraulic = SUM( A_cavity P_cavity_avg ) + ( A_runner P_runner )
Compressive force on shut-off lands, F_preload, must maintain a positive residual sealing stress, sigma_seal, under full hydraulic lifting force to prevent resin from penetrating the parting plane. Standard design guidelines set sigma_seal between 15 MPa and 30 MPa for unfilled resins, and up to 50 MPa for glass-filled or low-viscosity resins. Net land area, A_land, equals total contact area of all mating shut-off lands after subtracting all ground relief zones.
F_preload_min = ( A_land sigma_seal ) + F_hydraulic
Connecting compressive land force to physical steel preload step height requires applying Hooke’s Law for elastic axial compression. Preload step height, delta_h, represents the physical stand-off dimension ground into shut-off land faces relative to outer support pillars or cavity plate frames. Steel strain, epsilon, equals preload step height divided by total affected plate stack height, H_stack.
Plate stack height includes combined thickness of core insert, cavity insert, and backing plates experiencing compressive deformation under clamp load.
sigma_land = E epsilon = E ( delta_h / H_stack )
F_preload = sigma_land A_land = E A_land ( delta_h / H_stack )
Combining equations yields the analytical expression for calculated preload step height, delta_h:
delta_h = ( F_clamp H_stack ) / ( E A_land )
This formulation assumes uniform land distribution and rigid plate backing. In practice, local plate flexure modifies stress distribution, requiring step height adjustments across different cavity positions within the mould frame.

Worked Calculation for a Sixteen Cavity Tool
Consider a complete numerical example for a 16-cavity tool producing medical polypropylene syringe barrels. The mould utilizes a four-by-four matrix layout housed within 1.2343 tool steel plates hardened to 52 HRC. Total plate stack height subjected to compression, H_stack, equals 240 mm.
Tool steel elastic modulus, E, equals 210,000 MPa. Each syringe cavity presents a projected surface area of 12.5 cm2. The cold runner system adds 30 cm2 total projected area.
Total projected hydraulic area sums as follows:
A_cavities = 16 12.5 cm2 = 200 cm2 = 20,000 mm2
A_runner = 30 cm2 = 3,000 mm2
A_hydraulic = 20,000 mm2 + 3,000 mm2 = 23,000 mm2
Peak injection packing pressure delivered by the press equals 800 bar (80 MPa). Process analysis establishes average cavity pressure, P_cavity_avg, at 70 percent of peak pressure, yielding 56 MPa inside cavities. Runner channel pressure equals 70 MPa.
Total internal hydraulic separation force calculates as:
F_hydraulic = ( 20,000 mm2 56 MPa ) + ( 3,000 mm2 70 MPa ) = 1,120,000 N + 210,000 N = 1,330,000 N = 133 tonnes force
The toolmaker designs shut-off lands 4.0 mm wide around each cavity perimeter. Calculated total shut-off land contact area across all 16 cavities plus runner shut-offs, A_land, equals 8,500 mm2. Total relieved area on cavity plates equals 85,000 mm2, meaning 91 percent of the plate face is relieved by 1.0 mm depth, concentrating force exclusively onto the 8,500 mm2 land zone.
The moulding shop selects a 250-tonne (2,450,000 N) machine clamp press to run this tool. Machine clamp force exceeds hydraulic separation force by 117 tonnes force. Calculate static contact stress on shut-off lands under full clamp force before injection begins:
sigma_static = F_clamp / A_land = 2,450,000 N / 8,500 mm2 = 288.2 MPa
Static contact stress of 288.2 MPa falls well below the compressive yield strength of 1.2343 steel (1,650 MPa), preventing plastic deformation. Under peak injection pressure, residual compressive sealing stress on shut-off lands recalculates as:
F_residual = F_clamp – F_hydraulic = 2,450,000 N – 1,330,000 N = 1,120,000 N
sigma_residual = F_residual / A_land = 1,120,000 N / 8,500 mm2 = 131.7 MPa
Residual sealing stress of 131.7 MPa easily satisfies the minimum required 30 MPa sealing threshold, guaranteeing zero parting line flash during injection. Now calculate physical preload step height, delta_h, required on shut-off lands relative to outer frame support pillars:
delta_h = ( sigma_static H_stack ) / E = ( 288.2 MPa 240 mm ) / 210,000 MPa = 0.329 mm
If outer frame support pillars take up 60 percent of clamp force to prevent cavity plate over-compression, net clamp force on insert shut-off lands drops to 40 percent of machine tonnage (980,000 N). Recalculating preload step height for this supported pillar configuration yields:
sigma_land_net = 980,000 N / 8,500 mm2 = 115.3 MPa
delta_h_net = ( 115.3 MPa 240 mm ) / 210,000 MPa = 0.131 mm
The toolmaker grinds a 0.131 mm preload step onto individual core insert shut-off faces relative to the main cavity holder frame. Precision grinding holds this step within +/- 0.003 mm tolerance across all 16 inserts.
A preload step of 0.035 millimeters across tool grade 1.2343 steel generates 180 megapascals of compressive shut-off stress under 300 tonnes of machine clamping force at room temperature.
Preload calculations adapt to varying press tonnages and stack heights across multi-cavity projects. The table below outlines standard recommended preload step heights across typical machine tonnage ranges and stack heights for hardened steel tooling:
| Machine Clamp Rating (Tonnes) | Total Stack Height H_stack (mm) | Target Land Stress sigma_land (MPa) | Calculated Preload Step Height (mm) | Recommended Land Relief Depth (mm) |
|---|---|---|---|---|
| 100 | 150 | 100 – 140 | 0.07 – 0.10 | 0.50 |
| 200 | 200 | 120 – 160 | 0.11 – 0.15 | 0.80 |
| 300 | 250 | 140 – 180 | 0.16 – 0.21 | 1.00 |
| 500 | 350 | 150 – 200 | 0.25 – 0.33 | 1.20 |
| 800 | 450 | 160 – 220 | 0.34 – 0.47 | 1.50 |
Calculated preload dimensions establish baseline parameters during initial tool design, but physical verification during tool assembly remains mandatory. Steel compression formulas provide exact values under ideal planar assumptions, yet real tool components exhibit microscopic surface roughness, plate thickness variations, and thermal gradients. Precision grinding of preload steps requires bench inspection with electronic indicators to confirm calculations match physical steel compliance.
Grinding preload steps smaller than calculated thermal expansion values causes parting lines to crush once core inserts reach operating temperature. Rule of thumb dictates sizing cold mechanical preload steps to absorb half of expected differential thermal growth between central cavity inserts and outer mould frame plates.
Thermal

Thermal Expansion Mechanics across Tool Plates
Injecting molten polymer at temperatures between 200°C and 380°C transfers substantial thermal energy into mould cavity inserts. Internal cooling circuits extract heat to maintain steady-state tool operating temperatures, typically held between 20°C for commodity resins and 160°C for high-performance engineering thermoplastics. Hot runner manifolds operating inside the mould frame run significantly hotter, frequently reaching 280°C to 350°C. Temperature differences between hot runner components, cavity inserts, core plates, and cold outer frame plates create differential thermal expansion across the tool assembly.
Thermal expansion alters internal steel dimensions, expanding inserts and modifying effective parting line preload heights during production runs.
Linear thermal expansion follows thermodynamic relationships where dimensional growth depends on initial length, material coefficient of thermal expansion, and total temperature change above ambient setup conditions. Linear expansion, delta_L, calculates according to:
delta_L = L_0 alpha ( T_operating – T_ambient )
Where L_0 represents initial steel dimension, alpha represents thermal expansion coefficient, T_operating represents steady-state working temperature, and T_ambient represents room setup temperature (typically 20°C). Tool steel grade 1.2343 expands at 11.8 x 10^-6 / K, while 1.2083 stainless steel expands at 10.6 x 10^-6 / K. An insert stack measuring 200 mm height operating at 120°C oil-heated steady state expands vertically relative to a cold outer frame maintained at 20°C ambient water cooling:
delta_L = 200 mm ( 11.8 10^-6 / K ) ( 120°C – 20°C ) = 0.236 mm
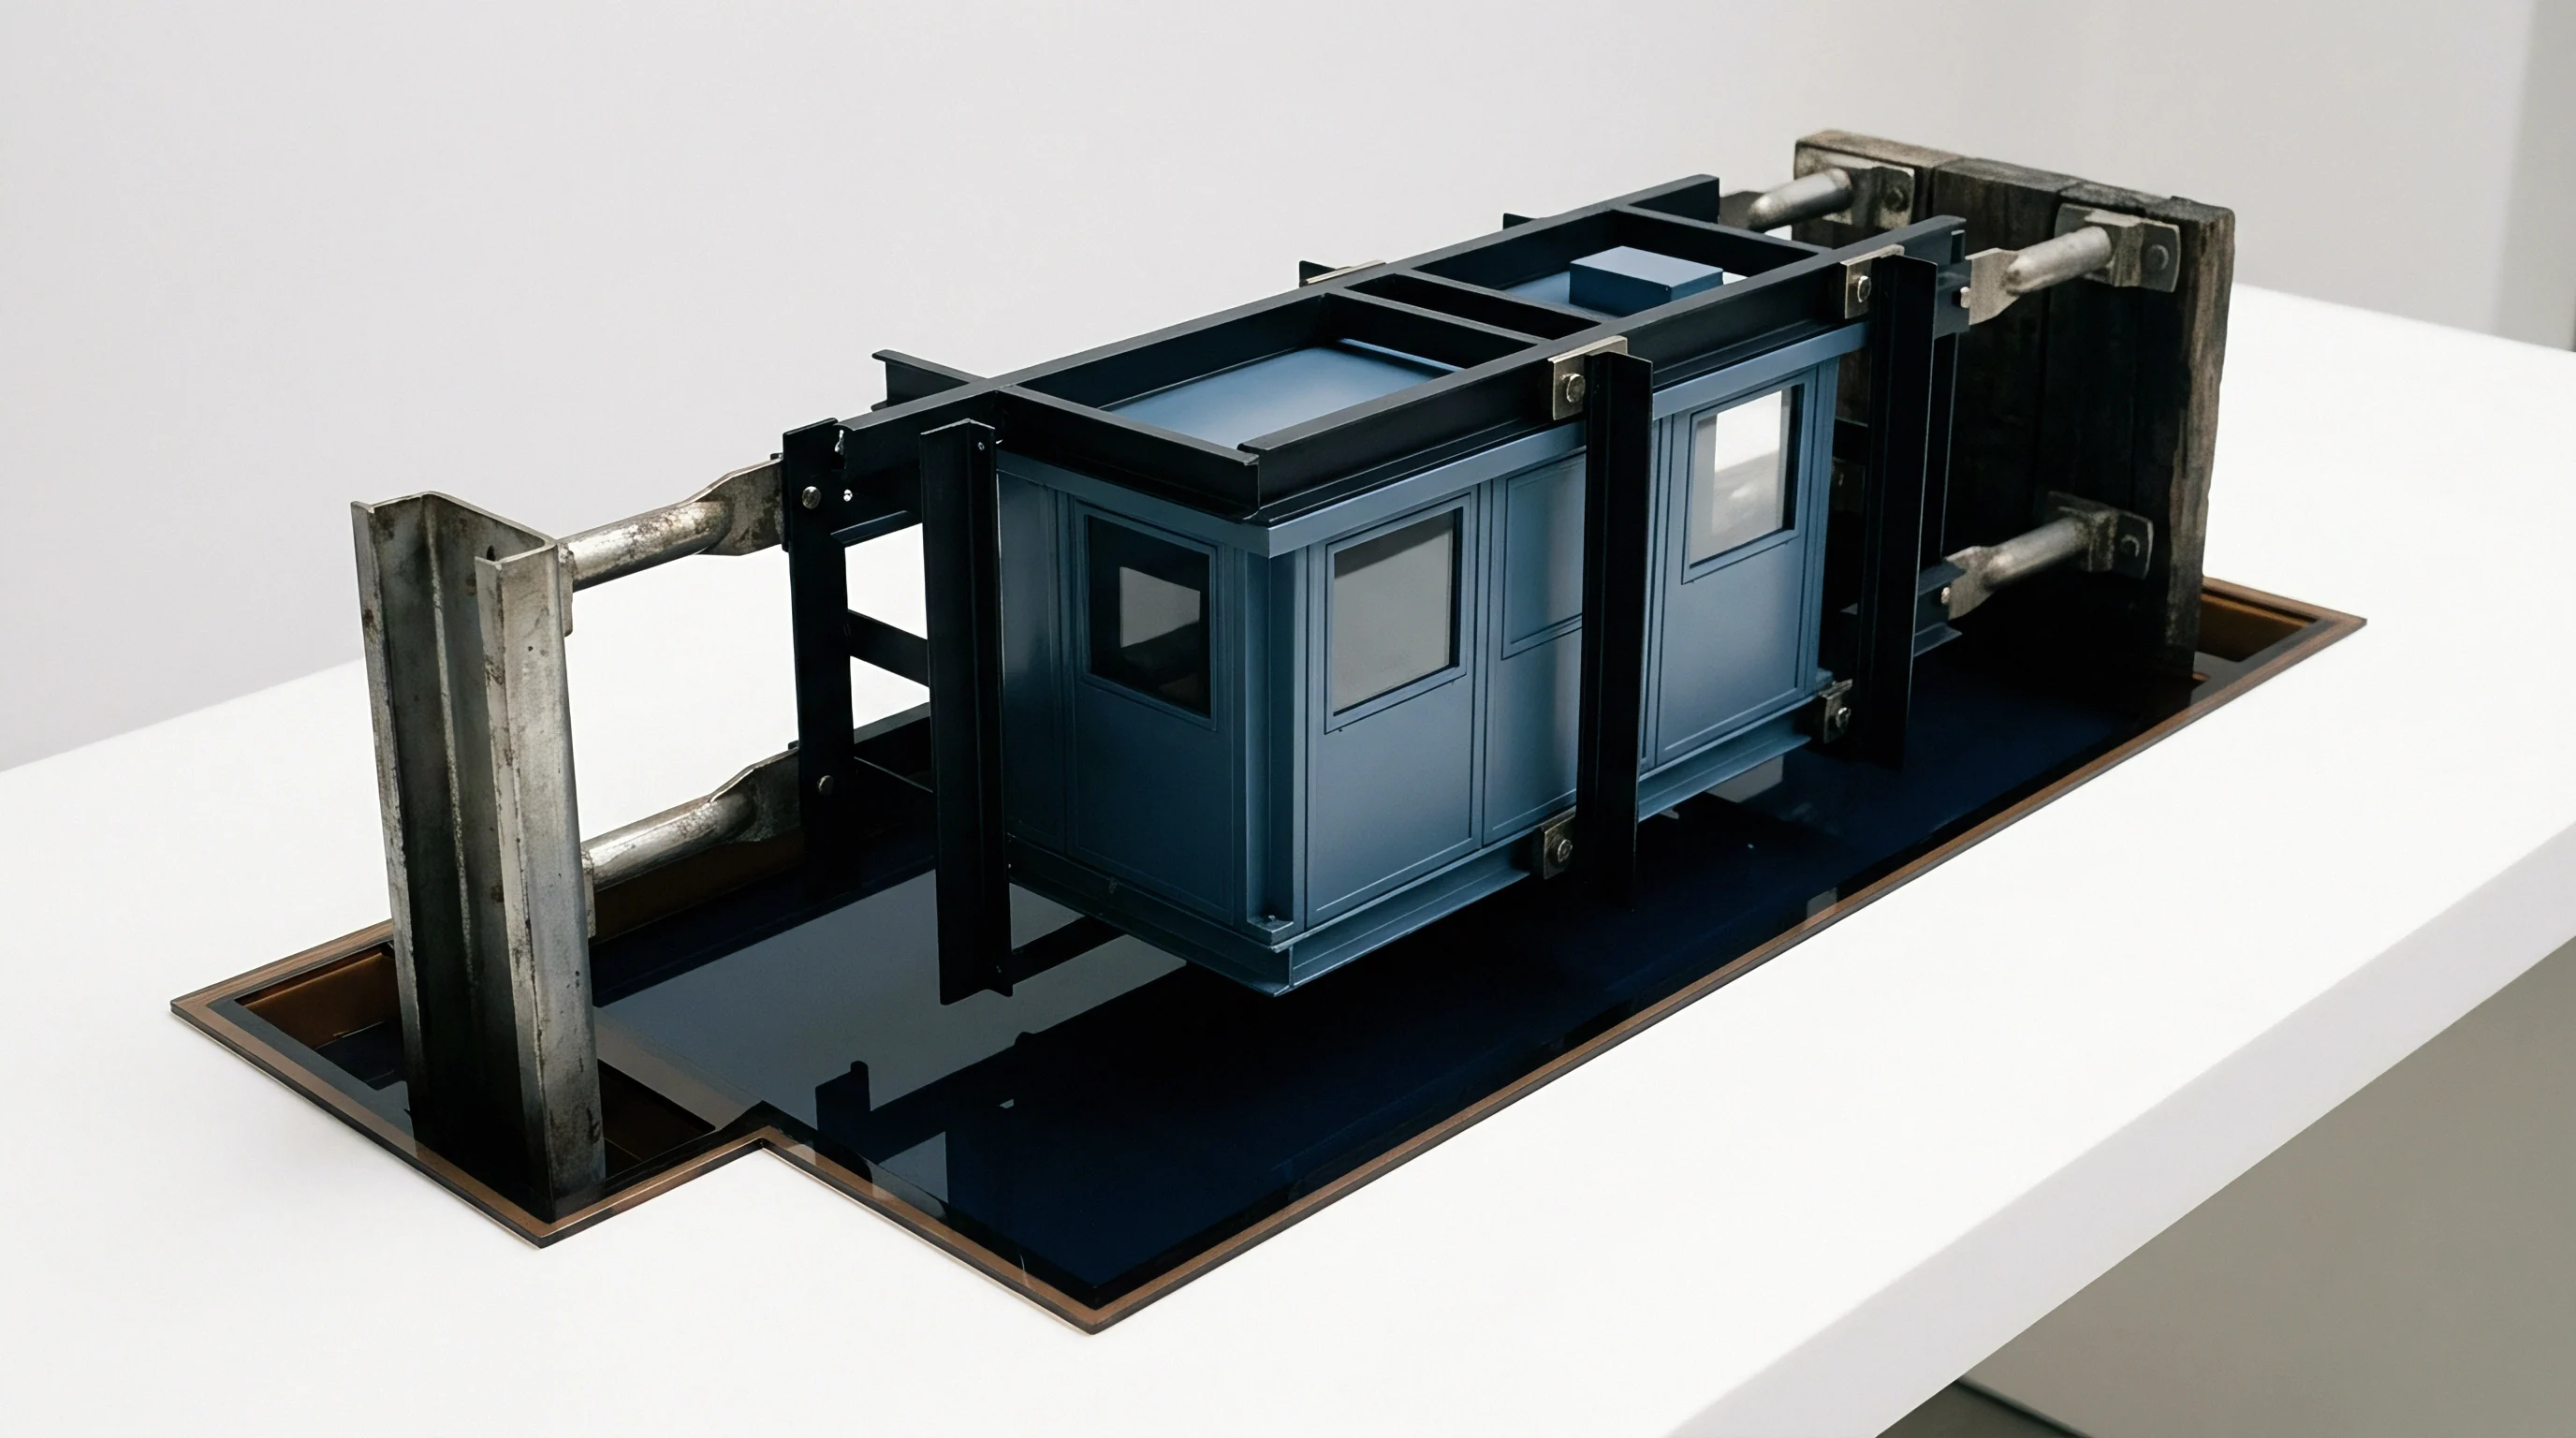
If cavity inserts expand vertically by 0.236 mm while outer mould frame plates expand by only 0.047 mm due to cooler water regulation, net differential thermal expansion adds 0.189 mm of extra height to the core insert shut-off lands. Adding 0.189 mm thermal growth on top of a 0.131 mm cold mechanical preload step creates massive over-compression, generating static contact stresses exceeding 700 MPa on shut-off lands. High contact stress crushes land edges, galling steel surfaces and causing structural cracking around insert corners.
Does Thermal Growth Neutralize Cold Preload Calculations?
Thermal growth does not neutralize cold preload calculations, but alters the reference baseline, demanding that tool designers engineer preload dimensions for steady-state thermal conditions rather than cold assembly states. Sizing shut-off land steps requires calculating thermal growth for every tool plate and insert, adjusting cold ground dimensions so net preload stress lands within target limits once the tool reaches operating temperature. Cold setup checks will show light or uneven parting line contact, which closes into uniform calculated preload once internal oil or hot runner systems reach thermal equilibrium.
DIN 16742 Class TG3 mandates that thermal growth of core inserts relative to the cavity plate must be calculated at steady-state melt and oil temperature prior to final parting line grinding.
Managing differential thermal expansion across high-cavitation moulds requires precise commissioning procedures. The numbered steps below outline the technical protocol for setting up and verifying thermal preload balance on multi-cavity tooling during press setup:
- Mount the cold mould into the injection press and connect all cooling lines, hot runner control zones, and oil temperature regulation units.
- Set machine clamping force to 30 percent of maximum rated tonnage to allow free plate movement during thermal warm-up without pinching tight slide mechanisms.
- Energize hot runner manifold heating zones, ramping temperature gradually to operational setpoints over 45 minutes to prevent thermal shock across manifold expansion nozzles.
- Circulate heated oil or water through core and cavity plate cooling circuits until digital thermal sensors confirm plates reach stable operational setpoint temperatures.
- Increase machine clamping force to 100 percent of calculated operating tonnage, holding lockup for two minutes to allow mechanical settling across all preloaded insert faces.
- Inspect parting line clearance gaps around outer plate frames using feeler gauges to verify calculated thermal stand-off distance matches physical plate separation.
- Inject first T1 short shots to evaluate seal integrity around shut-off perimeters, checking for flash or resin bleed before applying full packing pressure.
Thermal gradients across multi-cavity plates create localized expansion zones. Central cavities situated near hot runner manifold drops run hotter than corner cavities positioned near outer frame cooling inlets. A temperature variance of 15°C between central and perimeter inserts alters relative insert heights by 0.035 mm in a standard 200 mm insert stack.
Uneven insert expansion causes central cavities to take up total clamp tonnage first, starving outer cavities of sealing pressure and generating parting line flash on perimeter parts.
Toolmakers solve thermal gradient imbalance by engineering isolated cooling loops and differential shim heights. Central inserts receive higher cooling water flow rates to suppress thermal spikes, while perimeter inserts run slightly warmer cooling circuits to achieve uniform insert temperatures. When thermal gradients prove unavoidable due to part geometry or runner layout, toolmakers grind individual cold shim steps, making central insert step heights slightly lower than outer insert step heights.
When the tool reaches steady-state temperature, central inserts expand into perfect alignment with outer inserts, establishing uniform shut-off contact stress across every cavity in the mould.
Thermal management failures on high-temperature tools frequently stem from uncalibrated hot runner expansion nozzles. Hot runner nozzles expand axial distance toward cavity gates when heated to 300°C. If nozzle expansion calculations misjudge thermal growth, nozzle tips drive hard into cavity gate wells, pushing cavity insert steel forward and distorting the parting line shut-off face. Precision tool design separates hot runner nozzle expansion allowances from core insert preload calculations, ensuring hot runner thermal growth discharges into engineered air gaps rather than loading parting line shut-off faces.
When parting line flash pops up during tool trials, it often leaves engineers trying to untangle whether the culprit is press platen deflection, core backing plate flexure, or uncompensated thermal growth across central cavity inserts?

Crush
Compressive Fatigue and Plastic Yield Limits
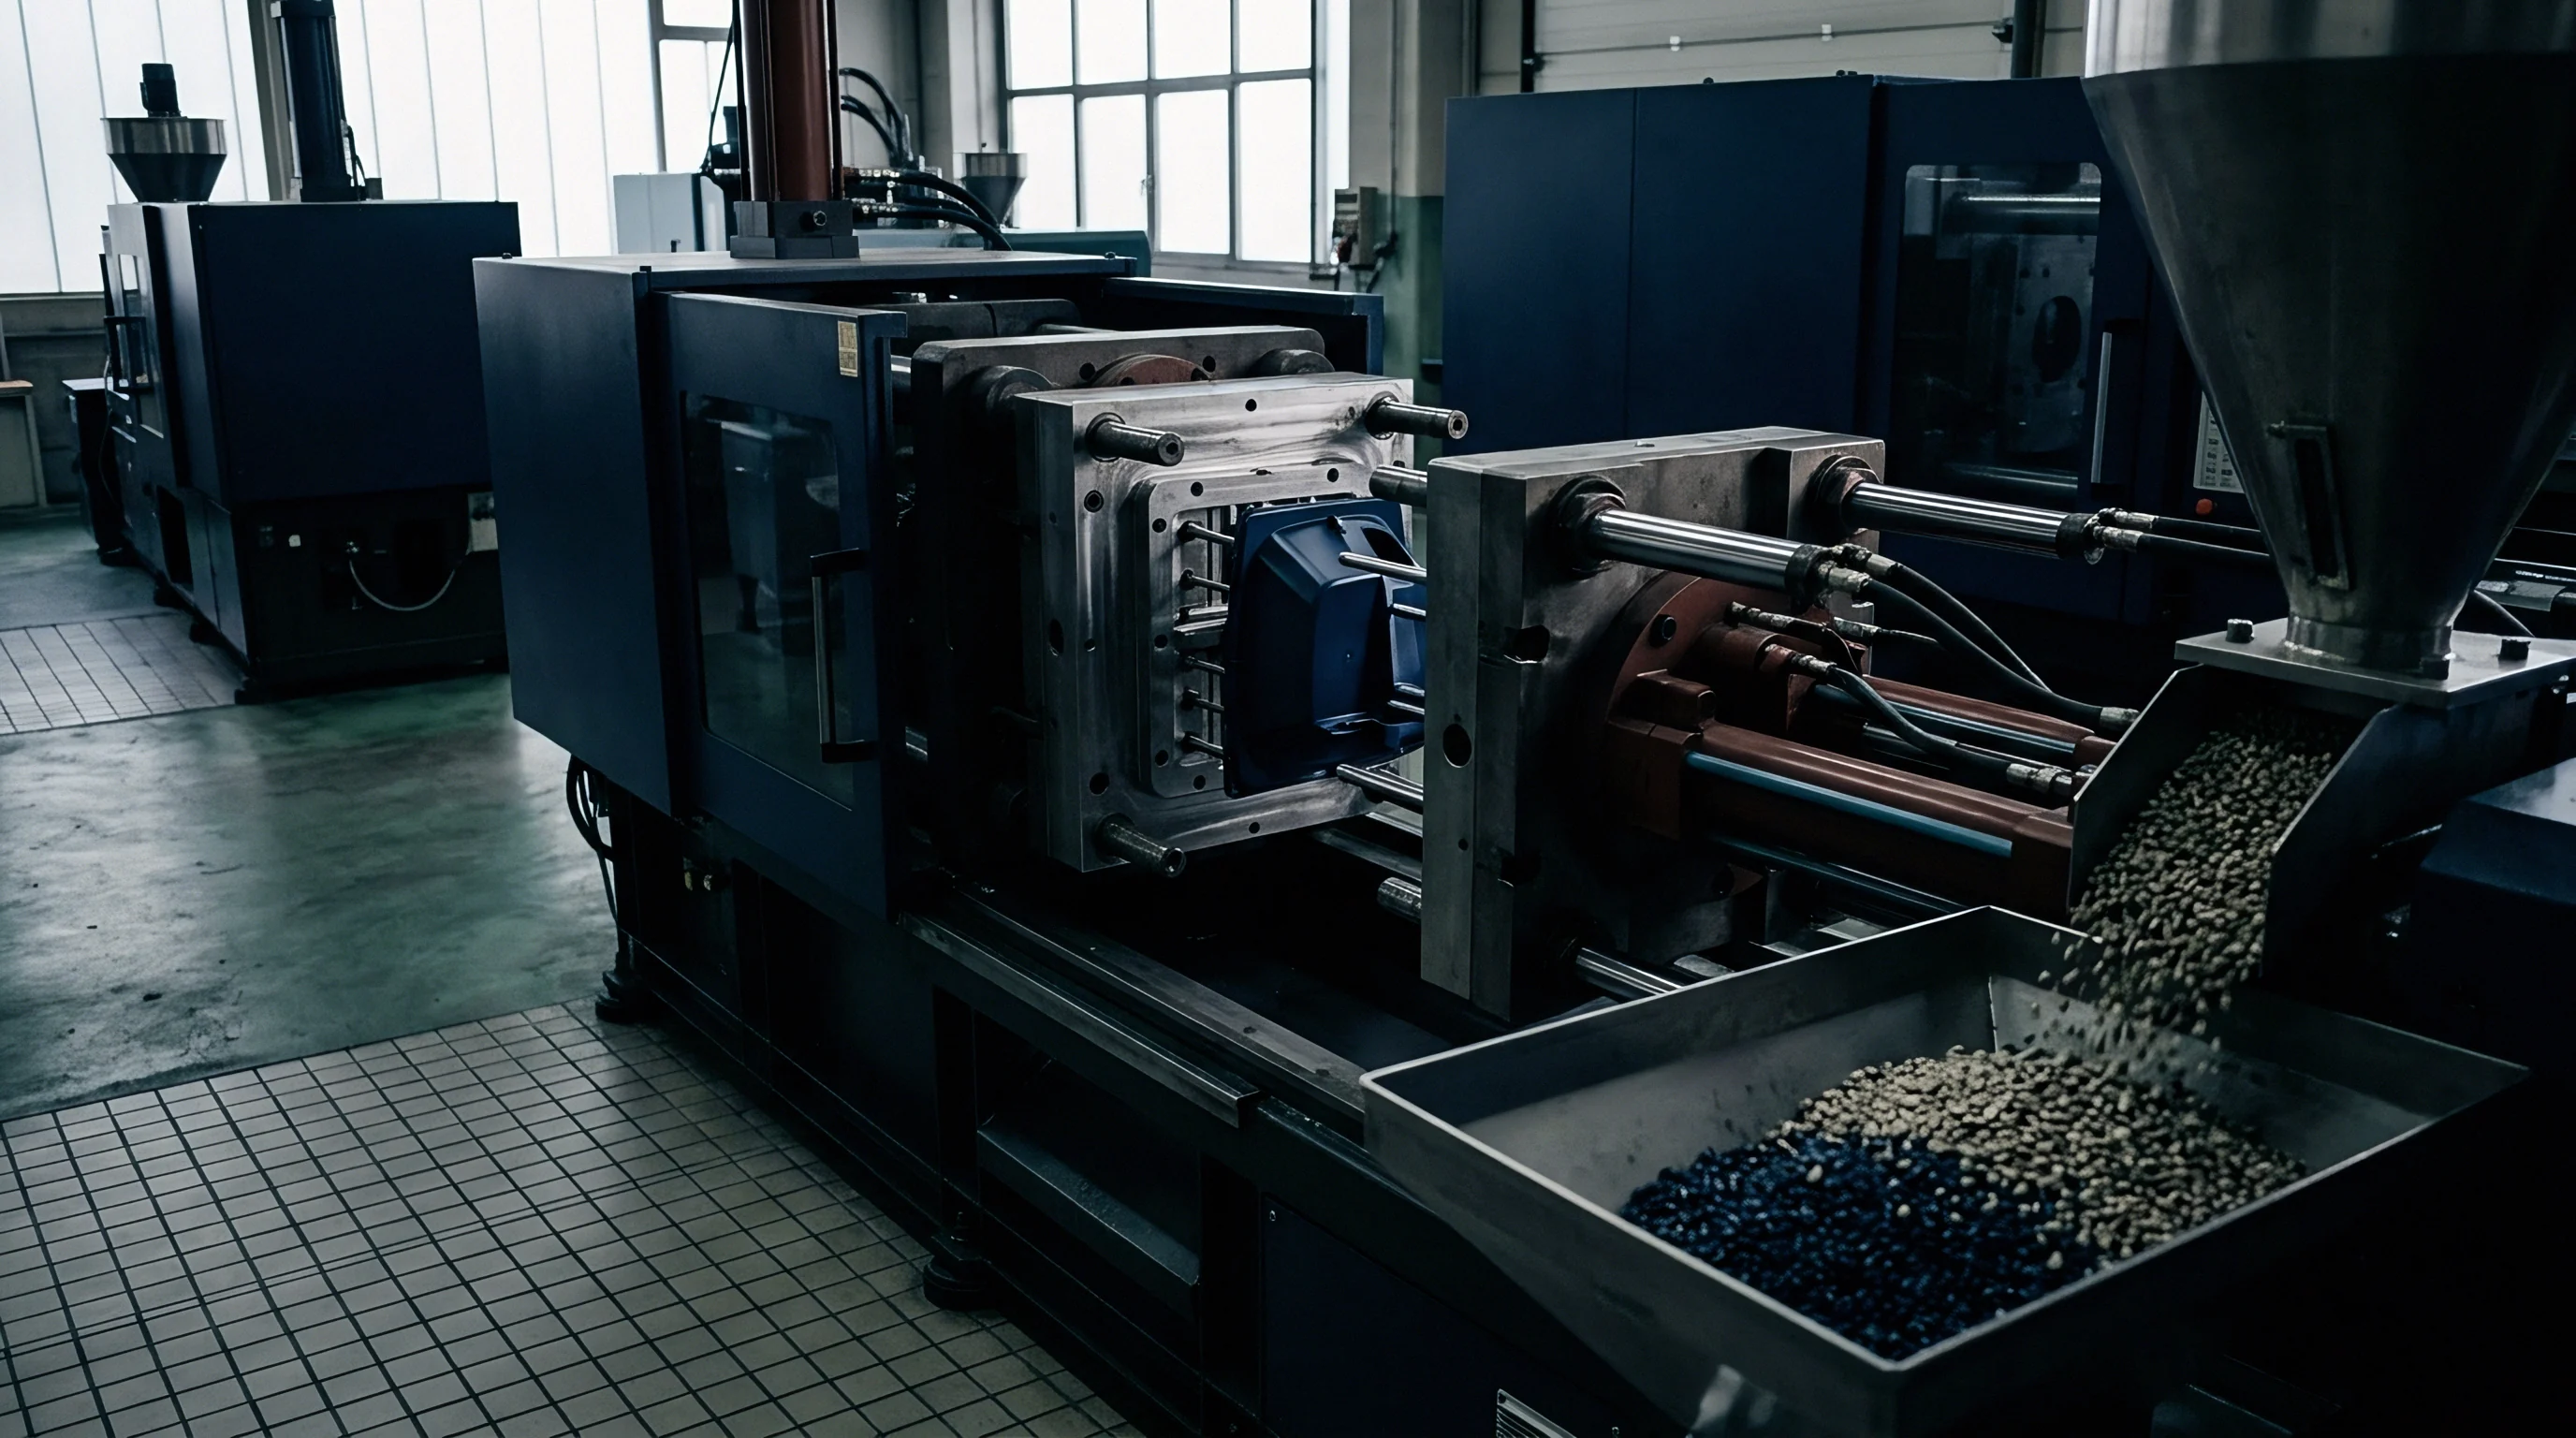
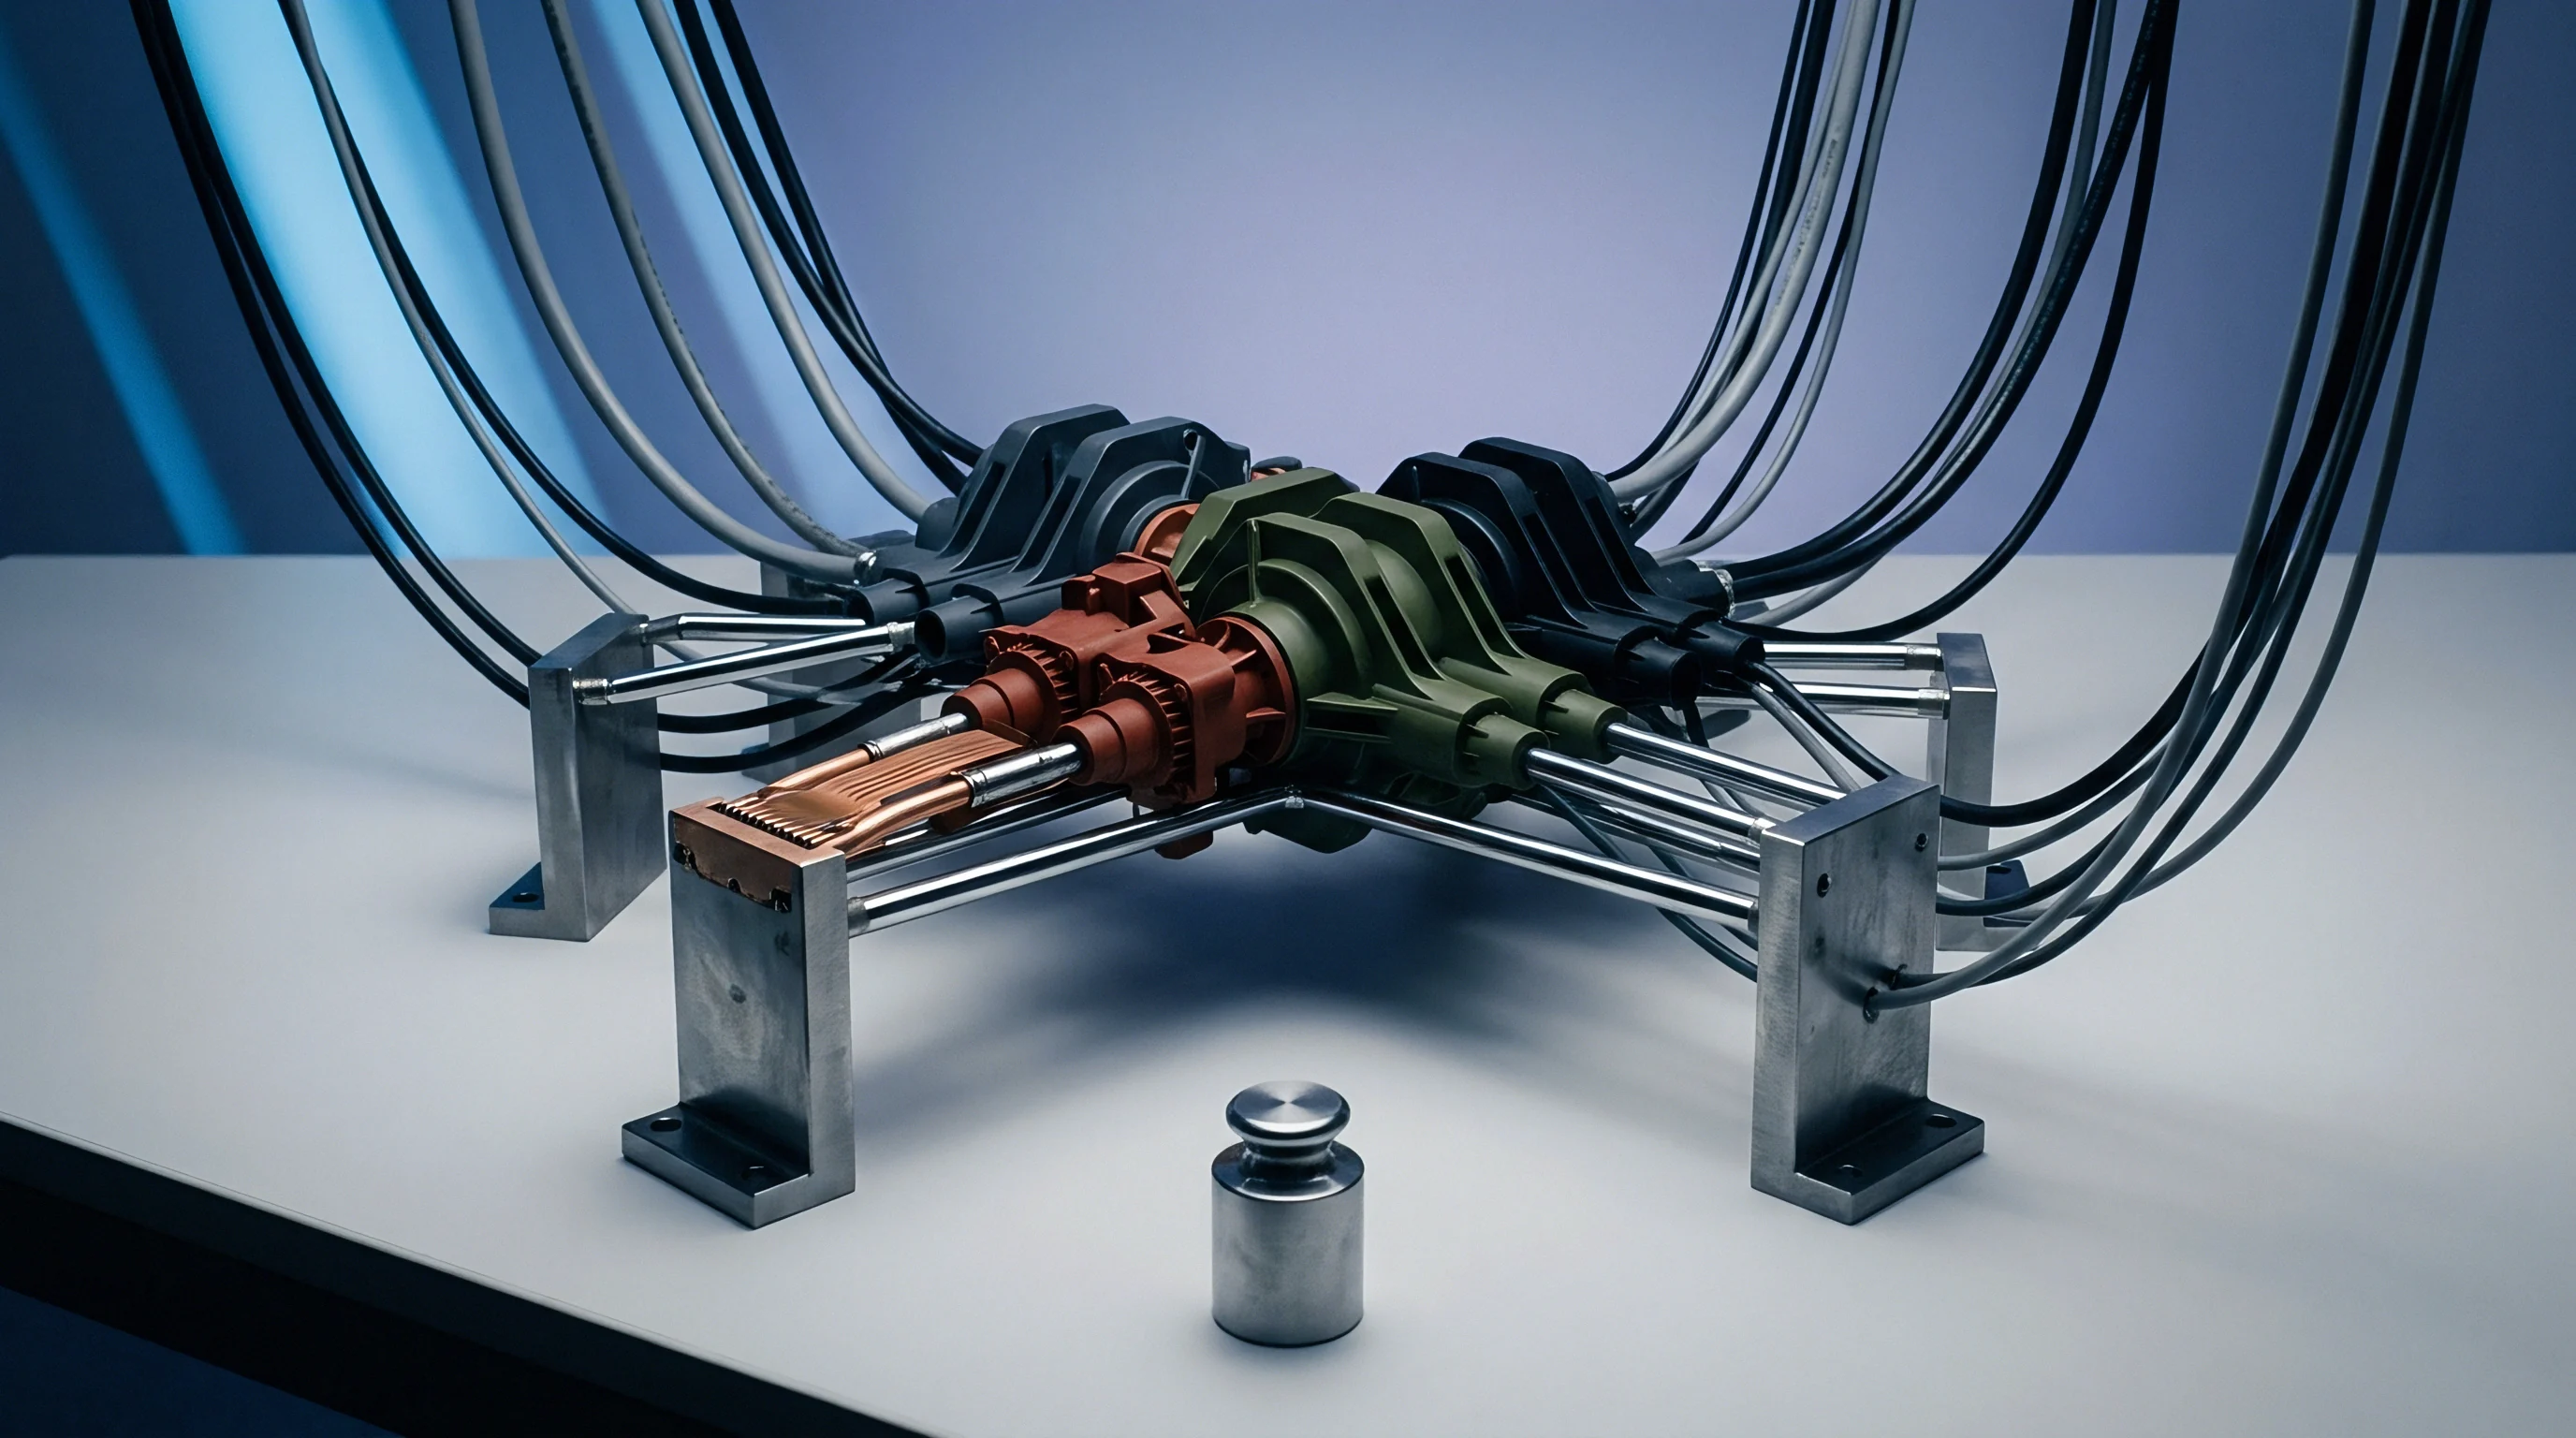
Repeated clamping operations subject parting line shut-off lands to cyclic compressive loading. Over a multi-million-cycle tool life, tool steel experiences compressive fatigue, progressive surface work-hardening, and eventual plastic yield. Plastic yield occurs when local contact stress exceeds the compressive yield strength of the steel matrix, permanently altering physical land dimensions.
Once shut-off land height deforms by as little as 0.005 mm, parting line sealing integrity degrades, leading to chronic micro-flashing that worsens with every production shift.
Compressive yield strength correlates directly with tool steel heat treatment, carbon content, and carbide distribution. Pre-hardened steels like 1.2311 (P20) offer easy machinability but exhibit low compressive yield strength (900 MPa), making them vulnerable to parting line crush when subjected to localized high stress. Through-hardened tool steels like 1.2343 (H13) or 1.2083 (420 SS) hardened to 52 HRC achieve compressive yield strengths exceeding 1,600 MPa, resisting plastic deformation under high clamp loads.
Selection of tool steel and heat treatment protocol establishes the ultimate threshold for allowable static and dynamic parting line contact stresses.
Designing for high cycle longevity requires maintaining total contact stress below 50 percent of the material’s yield strength to prevent compressive fatigue failure over millions of cycles. Subjecting steel to stress levels near its yield point induces micro-plastic deformation during early production cycles, causing shut-off lands to sink gradually over time. The table below outlines maximum recommended allowable contact stresses and cycle endurance limits across standard mould materials:
| Tool Steel Grade | Heat Treatment Condition | Compressive Yield Limit (MPa) | Max Recommended Contact Stress (MPa) | Expected Parting Line Cycle Life |
|---|---|---|---|---|
| 1.2311 (P20) | Pre-hardened 30 HRC | 900 | 350 | 500,000 |
| 1.2738 (P20+Ni) | Pre-hardened 34 HRC | 980 | 400 | 750,000 |
| 1.2343 (H13) | Through-hardened 52 HRC | 1,650 | 750 | 3,000,000 |
| 1.2083 (420 SS) | Through-hardened 50 HRC | 1,500 | 650 | 2,500,000 |
| 1.2379 (D2) | Insert Hardened 60 HRC | 2,100 | 950 | 5,000,000 |
Exceeding allowable contact stress accelerates shut-off land destruction through hobbing, galling, and spalling. Spalling occurs when sub-surface shear stresses exceed the material shear strength, causing micro-flakes of hardened steel to break away from shut-off land edges. Released steel particles contaminate cavity surfaces, causing severe damage to optical part finishes and precision mold details during subsequent clamp closures.
Preventing Localized Shut-Off Hobbing
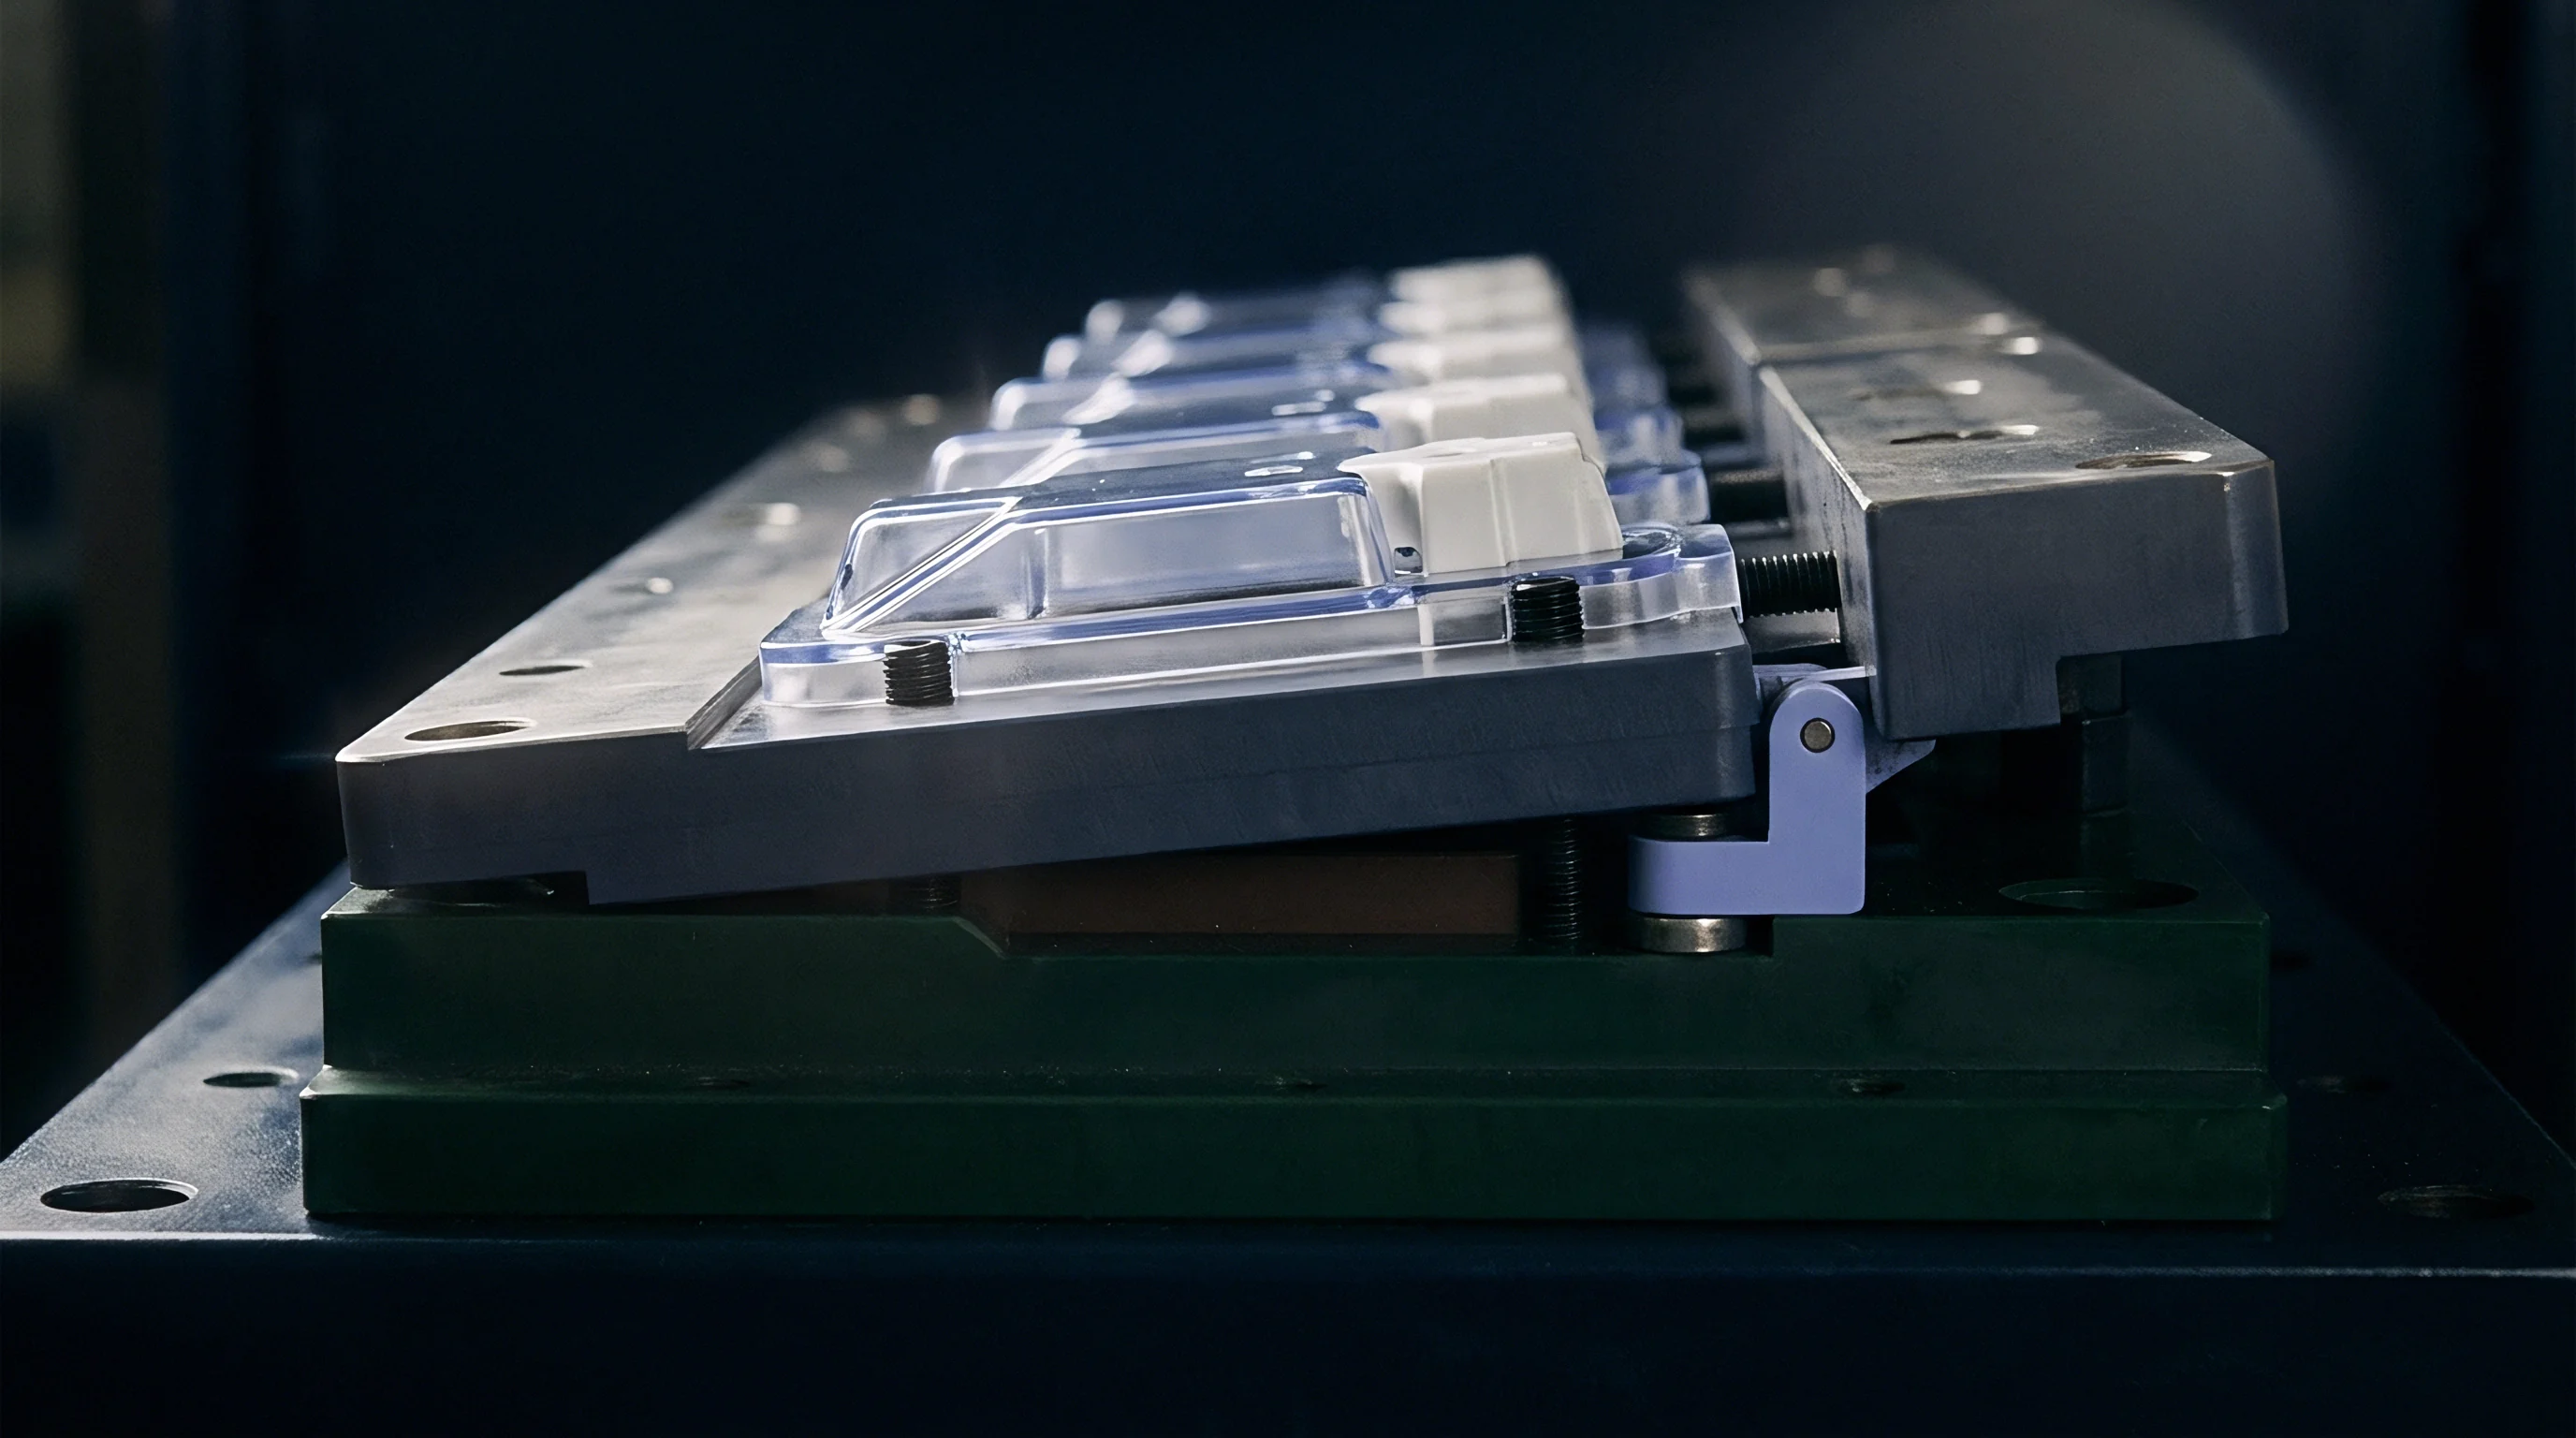
Localized shut-off hobbing occurs when sharp corners, narrow land transitions, or misaligned inserts concentrate clamping force onto small steel areas. In multi-cavity tools featuring intricate part geometries, shut-off lands must follow complex three-dimensional parting lines. Radiusing internal corners on shut-off lands distributes contact stress smoothly, eliminating sharp stress peaks.
Toolmakers specify minimum blend radii of 0.50 mm to 1.00 mm on all shut-off land step transitions to prevent localized crushing under clamp lockup.
Over-clamping a multi-cavity tool to eliminate parting line flash permanently collapses shut-off land height and guarantees continuous flash on subsequent production runs.
Inserting hardened steel crush pads or wear buttons into main mould plates shields delicate cavity insert shut-offs from excessive clamp loads. Crush pads, machined from high-wear tool steels like 1.2379 (D2) hardened to 60 HRC, stand proud of non-critical plate surfaces by 0.020 mm to 0.050 mm. These pads absorb primary clamp tonnage during initial machine closure, limiting compression on delicate cavity shut-off lands.
Sizing total crush pad area ensures machine clamp force cannot compress cavity insert shut-offs beyond their elastic limit even if press tonnage is accidentally set to maximum rating by press operators.
Preventing shut-off crush requires establishing strict maintenance protocols and machine setup controls. Process setters often increase machine clamp tonnage to suppress parting line flash caused by worn vents or improper injection speed profiles. Excess clamp tonnage crushes shut-off lands, destroying engineered preload steps and permanently damaging the tool.
Implementing physical machine tonnage caps based on calculated preload values prevents operator over-clamping.
ISO 16916 Clause 4.2 stipulates that injection mould designs must incorporate explicit maximum clamp force limit plates stamped directly onto the tool operator side, restricting press setup tonnage to calculated parting line load limits. Stamping maximum allowable tonnage onto the mould frame creates a binding operating constraint for press setters. Enforcing tonnage caps protects shut-off land geometry, preserves pre-load steps, and guarantees long-term tooling performance across multi-year production contracts.

Signoff
Physical Verification of Parting Line Contact
Validating parting line preload calculations requires systematic physical verification during tool assembly, T1 trials, and final tooling signoff. Steel compression formulas and finite element models establish initial dimensions, but physical bench testing verifies actual contact conditions across every cavity. Toolmakers use chemical transfer pastes, precision feeler gauges, optical alignment systems, and force-sensitive tactile films to confirm sealing stress distribution before releasing tools for production qualification.
Prussian blue contact testing serves as the baseline physical check during bench fitting. Toolmakers apply a thin, uniform layer of blue transfer paste (0.002 mm to 0.005 mm thickness) onto the cavity shut-off lands, assemble core and cavity halves, and clamp the tool under low hydraulic force on a tool shop spotting press. Opening the tool reveals transfer patterns.
Complete transfer across 100 percent of all cavity shut-off perimeters confirms coplanar contact. Incomplete blueing transfer indicates insert height variations, requiring precision surface grinding or re-shimming behind individual insert pockets to achieve flat contact.
Following bench transfer checks, toolmakers measure physical plate separation using feeler gauges while the tool sits in the spotting press under zero clamp force. Cold mechanical preload step height appears as a measurable gap between outer frame support pillars when core and cavity inserts make initial contact. This un-clamped stand-off clearance must match calculated preload step height within a tolerance of +/- 0.005 mm.
When full machine clamp tonnage is applied, feeler gauge clearance between outer support pillars must drop to absolute zero, confirming that core inserts have compressed elastically by the exact calculated step height.
Advanced tooling qualification employs tactile pressure-indicating film placed between parting line faces during trial clamping. Pressure film contains micro-encapsulated color-forming chemistry that ruptures under applied compressive stress, producing instantaneous color density variations corresponding to local contact pressure. Scanning the exposed film through calibrated optical software generates quantitative contact stress heatmaps across the entire parting plane.
Engineers compare measured stress values directly against calculated preload stress profiles, verifying that residual sealing pressure matches design requirements across all inner and outer cavities.
Commercial Risk and Tooling Maintenance Schedules
Verifying parting line preload integrity protects commercial tooling investments and eliminates financial liability during high-volume production runs. Tooling contracts specify part flash thresholds, dimension tolerances under DIN 16742, and total guaranteed tool cycle life. A tool delivered with unverified or calculated preload errors will exhibit premature parting line flash, requiring frequent unbudgeted maintenance pulls, insert re-grinding, and costly toolroom downtime that destroys production margins.
Establishing clear buy-off documentation ensures toolmakers, moulders, and buyers agree on parting line structural performance before final tooling signoff payment is released. The verification checklist below details essential technical requirements for multi-cavity parting line preload qualification:
- Prussian Blue Transfer Report documenting 100 percent continuous color transfer along all cavity shut-off perimeters under bench spotting conditions.
- Un-clamped Stand-Off Measurements verifying cold preload step height matches approved tool drawings within +/- 0.005 mm across all insert locations.
- Tactile Pressure Film Scans confirming uniform contact stress distribution across all cavities under 100 percent rated machine clamp tonnage.
- Thermal Equilibrium Gap Checks measuring parting line frame clearance under full hot runner and oil-heated operating conditions.
- T1 Short-Shot Flash Audits evaluating resin sealing integrity across a range of injection packing pressures from 50 percent to 120 percent of nominal process setpoints.
Long-term maintenance schedules protect parting line preload throughout the tool’s operational life cycle. Multi-cavity tools operating in continuous high-volume production undergo scheduled parting line refurbishment every one million cycles. Refurbishment includes complete dismantle, ultrasonic cleaning of vented shut-offs, dimensional re-measurement of insert stand-off heights, replacement of worn support pillars, and re-shimming of insert pockets to restore calculated preload dimensions.
Systematic maintenance prevents gradual land collapse, preserving part quality and protecting tool capital value.
Tooling supply agreements mandate that toolmakers provide certified preload calculation dossiers alongside physical blueing test records prior to final signoff. Including analytical formulas, material yield calculations, thermal expansion allowances, and physical pressure film verification scans within the permanent tool dossier transfers structural accountability to the tool builder. Moulding buyers enforcing complete structural documentation secure reliable, flash-free multi-cavity production performance while establishing unambiguous contractual remedies should parting line premature wear or structural plate deflection occur during commercial production runs.