Datum Target Placement Mechanics for Compliant Thermoplastic Parts
Datum target placement on compliant plastic parts requires locating pads on rigid structural features and using restrained-state inspection standards.

Origin
First shots off a new injection tool rarely match nominal CAD geometry. Differential volumetric shrinkage across complex rib networks, asymmetric cooling channels, and localized shear heating force semi-crystalline and amorphous resins to warp upon tool opening. Polypropylene, unreinforced polyamides, and polybutylene terephthalate exhibit post-moulding movement as internal thermal stresses relax over twenty-four hours.
When quality auditors place a flexible thermoplastic moulding on a traditional coordinate measuring machine using rigid three-two-one mounting points, the component flexes under its own mass. A part clamped against three rigid primary pins, two edge stops, and one corner block yields false out-of-tolerance readings because the mounting method imposes artificial strain rather than isolating true geometric variation.
Traditional geometric dimensioning and tolerancing rests on the kinematic assumption that components behave as infinitely rigid solids. Thermoplastic parts with wall thicknesses below three millimeters violate this assumption continuously. Applying rigid primary plane locators across a bowed plastic surface forces the material to bridge gaps between support points, bending the part during inspection.
Establishing an accurate spatial origin requires datum target placement mechanics tailored to material compliance, local wall stiffness, and natural unrestrained part equilibrium.

Free State Strain Distributions
Volumetric shrinkage variations drive free-state warping across thin-walled mouldings. Semi-crystalline polymers like high-density polyethylene exhibit shrinkage up to two percent, while glass-filled polycarbonate holds shrinkage under zero point four percent. When polymer molecules align parallel to flow lines inside the cavity, longitudinal shrinkage differs from transverse shrinkage.
This directional anisotropy generates internal bending moments that manifest immediately after ejection.
Suspending a flexible moulding in an unconstrained environment reveals its natural equilibrium geometry, free from fixture-induced forces. Standard three-point datum target sets fail to support thin-walled spans, allowing gravitational sag to mask moulding flaws. Placing primary datum targets (designated A1, A2, and A3) directly beneath high-stiffness structural features like sidewall intersections or internal gussets prevents gravitational drooping from distorting coordinate calculations during automated tactile or optical scanning routines.
Target Surface Geometry Selection
Engineers select datum target contact geometry based on local component stiffness and surface curvature. Point contact locators, typically spherical steel pins with radii between three and ten millimeters, establish single-point interfaces on flat or moderately curved surfaces. Line contact targets employ cylindrical pins or knife-edge rails to fix secondary alignment along straight edges.
Target area pads utilize planar steel steps, typically ten by ten millimeters or fifteen by twenty millimeters, to distribute support reaction forces across flexible spans.
Spherical point locators minimize contact uncertainty on thick structural bosses but sink into soft resins under fixture clamping pressure. Planar target area pads reduce contact stress, preventing surface indentation, but require absolute coplanarity with the molding surface to prevent edge loading. Tool designers position target area pads on regions where core pins or cavity walls maintain tight local flatness tolerances under standard processing windows.
Tooling documentation must state datum target coordinates as absolute basic dimensions referenced to the component design origin. Out-of-round features often reflect natural post-moulding movement rather than inaccurate core pin placement inside the tool cavity.


Rest
Physical locators support the flexible part inside the measurement fixture. Soft polymers deform under minimal contact forces, introducing measurement error before inspection clamps engage. An unreinforced polypropylene part with a flexural modulus of one point two gigapascals yields under spherical target pins, distorting the reference coordinate system.
Selecting target contact geometry requires balancing point-location precision against surface deformation risks.
Contact stress analysis reveals that small spherical radius locators produce high contact stress fields, exceeding the yield strength of unreinforced thermoplastics during manual loading cycles. Distributing locator reaction forces over defined target areas protects part integrity while holding spatial reference planes across repeat inspection cycles.

Contact Point Hertzian Stress Dynamics
Pressing a spherical steel locator against a curved thermoplastic wall creates a circular contact patch. Under a modest five-newton holding force, a five-millimeter radius steel pin drives localized elastic-plastic deformation into a three-millimeter unreinforced ABS surface. This indentation shifts the part zero coordinate downward by eight to fifteen micrometers, consuming a significant fraction of tight tolerance bands.
| Locator Contact Geometry | Effective Area (mm²) | Polymer Family | Applied Force (N) | Indentation Depth (µm) | Datum Plane Shift Impact |
|---|---|---|---|---|---|
| Spherical Pin (R = 3.0 mm) | 0.78 | Unreinforced PP | 5.0 | 22.4 | Unacceptable coordinate zero shift |
| Spherical Pin (R = 5.0 mm) | 1.54 | Unreinforced PP | 5.0 | 14.1 | Consumes 15% of profile tolerance |
| Spherical Pin (R = 5.0 mm) | 1.54 | PA66 GF30 | 5.0 | 2.8 | Negligible alignment impact |
| Planar Pad (10 x 10 mm) | 100.00 | Unreinforced PP | 10.0 | 0.3 | Preserves coordinate zero |
| Planar Pad (15 x 20 mm) | 300.00 | Unreinforced PP | 25.0 | 0.2 | Negligible alignment impact |
Polymers with higher flexural moduli resist point penetration under standard gage loads. Glass-filled polyamides withstand spherical target forces with under three micrometers of elastic deflection, making point locators ideal for automated CMM fixtures. Soft polyolefins require planar target area pads or large-radius spherical buttons to maintain geometric stability without indenting show surfaces.
Target pads placed directly opposite stiffening ribs prevent localized bending during coordinate measurement.
Pad Sizing for Viscoelastic Resistance
Viscoelastic creep alters datum targets over prolonged holding cycles. Thermoplastic materials undergo time-dependent deformation under sustained stress, causing a part mounted in an inspection fixture overnight to settle deeper onto its locators. Sizing target area pads keeps compressive stresses below the polymer creep threshold, maintaining stable coordinate zeroes across multi-hour measurement protocols.
Locating primary datum target pads directly beneath internal rib intersections transfers locator forces into structural planes rather than unsupported wall spans. Unsupported nominal wall spans sag under five newtons of contact force, shifting spatial coordinates and generating false profile errors during laser or tactile scanning runs.
- Wall section thickness dictates whether a concentrated steel spherical pin creates localized dimpling during gage loading.
- Flexural modulus values determine if point contacts provide sufficient rigidity under coordinate measuring probe forces.
- Parting line proximity controls whether target pads require complex tool slides or simple cavity machining.
- Surface finish callouts restrict planar pad contact on primary textured cosmetic faces.
Placing primary targets along stiffening ribs or structural sidewalls prevents localized deflection during dimensional measurement.

Clamp
Restraining flexible thermoplastics requires strategic application of holding forces. Free state measurement often yields invalid results for large automotive door trim panels, instrument panel structures, and bumper fascia moldings that rely on mating assembly structures for final rigidity. Standards like ISO 10579 and ASME Y14.5 define conditions for restrained-state dimensional verification, allowing inspectors to apply holding forces that mimic final vehicle or product assembly mounting conditions.
Applying mechanical toggle clamps directly above primary datum targets prevents bending moments, securing the component flat against target pads without inducing secondary strain. Misaligned clamping forces push parts sideways, introducing artificial internal stresses that distort un-clamped features.

When Does Free State Deflection Exceed Tolerance Bands?
A thin-walled automotive fascia panel hanging unconstrained under gravity deforms by several millimeters, exceeding its drawing tolerance bands despite coming from a perfectly dimensioned injection tool. Restrained state callouts on engineering drawings permit quality technicians to clamp specified attachment points against fixture target pads before executing CMM measurement routines.
Fixture designs utilize spring-loaded pins, vacuum suction cups, or calibrated pneumatic actuators to apply controlled forces at specified target positions. Over-clamping deforms internal rib networks, masking tooling defects or creating artificial high spots across adjacent surfaces.
- Over-constrained planar bowing occurs when four or more rigid targets fight inherent cross-wall shrinkage variance.
- Clamping force deflection develops if hold-down actuators press un-supported spans between target points.
- Viscoelastic relaxation drift emerges during extended measurement scans as localized contact stress dissipates.
- Datum target slip happens when spherical locators meet angled wall draft without perpendicular alignment.
Drawing annotations referencing ISO 10579 dictate explicit specification of clamp locations, vector directions, and force limits in newtons.
Sequential clamping protocols prevent trapped strain. Technicians actuate primary datum clamps first, seating the molding against A1, A2, and A3 target pads before engaging secondary and tertiary locators. Applying secondary clamps out of order locks thermal residual strain into the molding, shifting hole centers and trim line locations relative to the datum reference frame.
Invoking ISO 10579 shift-state clauses legally binds the quality department to inspect parts under specified suction cup vacuum levels before issuing non-conformance reports.


Vector
Calculating compliant part deformation requires finite element compliance matrices. A flexible thermoplastic component acts as a non-linear spring network, where local deflection depends on material elasticity, cross-sectional moment of inertia, and distance to adjacent datum target support points. Optimizing target positions minimizes part deflection under gravity and clamping loads, establishing a stable measurement baseline.
Finite element calculations map structural compliance across the entire component volume, identifying locations where reaction vectors balance externally applied fixture forces. Locating targets at compliance nodes minimizes overall part sag, reducing the required clamping force during quality audits.

Stiffness Matrix Formulation for Target Placement
Engineers calculate structural displacement vectors using reduced stiffness matrices. Component geometry discretization yields a global stiffness matrix, which inverted relates applied clamping and gravitational force vectors to resulting nodal displacements. Target placement mechanics seek to minimize displacement vectors across critical measurement features by optimizing locator positions.
Supporting a long uniform thermoplastic strip on two primary target points at zero point two two three times its total length balances end droop against center sag, minimizing total vertical displacement. Translating this principle to two-dimensional compliant moldings requires positioning primary datum targets near structural centers of percussion rather than outer corners.
- Metrologists extract full finite element mesh nodes from nominal CAD geometry.
- Algorithms compute local compliance values across every candidate surface target coordinate.
- Software evaluates gravity-induced deflection vectors across all candidate three-point support combinations.
- Optimization routines select target positions that minimize maximum displacement values across critical interface features.
A glass-filled nylon door trim panel deforms by ninety-four micrometers under a ten-newton inspection clamp when targets sit eighty millimeters away from primary ribs.
Thermal gradients drive distortion. Moldings measured shortly after ejection exhibit dynamic compliance matrices as internal material temperatures decline toward ambient bench conditions. Quality procedures establish mandatory twenty-four hour thermal stabilization periods prior to vector calculation or fixture sign-off runs.
Misaligned datum vectors force toolmakers to recut cavity steel repeatedly in an attempt to correct part geometry that was merely flexing on an uncalibrated check fixture.


Matrix
Evaluating target placement mechanics on a representative flexible component demonstrates the mathematical and physical mechanics of deformation control. Take an automotive engine bay cowl cover molding manufactured from unreinforced polypropylene with a flexural modulus of one point three gigapascals and a uniform wall thickness of two point five millimeters. The component measures six hundred millimeters in length by two hundred millimeters in width, with an overall part mass of zero point three eight kilograms.
Un-supported free-state measurement under gravity results in excessive mid-span droop, rendering quality audits unrepeatable without optimized datum target placement.
Comparing traditional corner target placement against optimized Bessel-point target placement reveals major differences in component sag and internal bending stress during measurement. Evaluating two distinct primary datum target layouts proves how support spacing alters physical inspection results.

Worked Construction for Target Optimization
The first layout (Option A) positions primary datum targets A1, A2, and A3 near the outer corners of the panel, fifty millimeters from the perimeter edges. The second layout (Option B) positions targets A1 and A2 along the main longitudinal span at Bessel-point locations (one hundred thirty-four millimeters from the ends) with target A3 offset laterally along an intersecting structural rib.
| Target Placement Layout | Primary Target Coordinates (X, Y in mm) | Max Gravity Sag (mm) | Max Clamping Deflection (mm) | Peak Bending Stress (MPa) |
|---|---|---|---|---|
| Option A: Corner Placement | A1(50,50), A2(550,50), A3(300,150) | 1.84 | 0.42 | 4.12 |
| Option B: Bessel-Point Placement | A1(134,50), A2(466,50), A3(300,150) | 0.21 | 0.06 | 0.68 |
| Option C: Rib-Supported Placement | A1(134,80), A2(466,80), A3(300,180) | 0.09 | 0.02 | 0.24 |
Calculations show Option A yields a peak vertical mid-span sag of one point eight four millimeters under self-mass alone. Under a secondary ten-newton inspection clamp, unsupported spans flex an additional zero point four two millimeters, creating an artificial surface profile distortion of over two millimeters. Option B reduces gravity-induced sag to zero point two one millimeters, representing an eight-eight point six percent reduction in free-state deflection without adding secondary clamping mechanisms.
Option C, which shifts target pads directly onto internal rib intersections, lowers peak gravity deflection to zero point zero nine millimeters.
Positioning primary datum targets at Bessel points minimizes structural sag without adding secondary mechanical supports.
Moving targets directly onto internal rib networks increases local stiffness by a factor of four point two. This local stiffness increase prevents probe pressure from pushing the surface downward during automated tactile CMM routines, guaranteeing measurement repeatability across shifts.
- Restrained state symbols appear adjacent to affected feature control frames to signal conditional inspection requirements.
- Maximum allowable clamping force notes define exact pneumatic actuator pressures permitted during quality acceptance testing.
- Primary target coordinates specify exact basic dimensions from part origin to fixture contact centers.
- Free-state tolerance callouts govern un-clamped part features to prevent shipping severely twisted components that break assembly automation.
Engineers continue to debate whether dynamic finite element re-optimization should run automatically inside gage control software to adjust target coordinates as raw material melt flow rates shift across production lots.

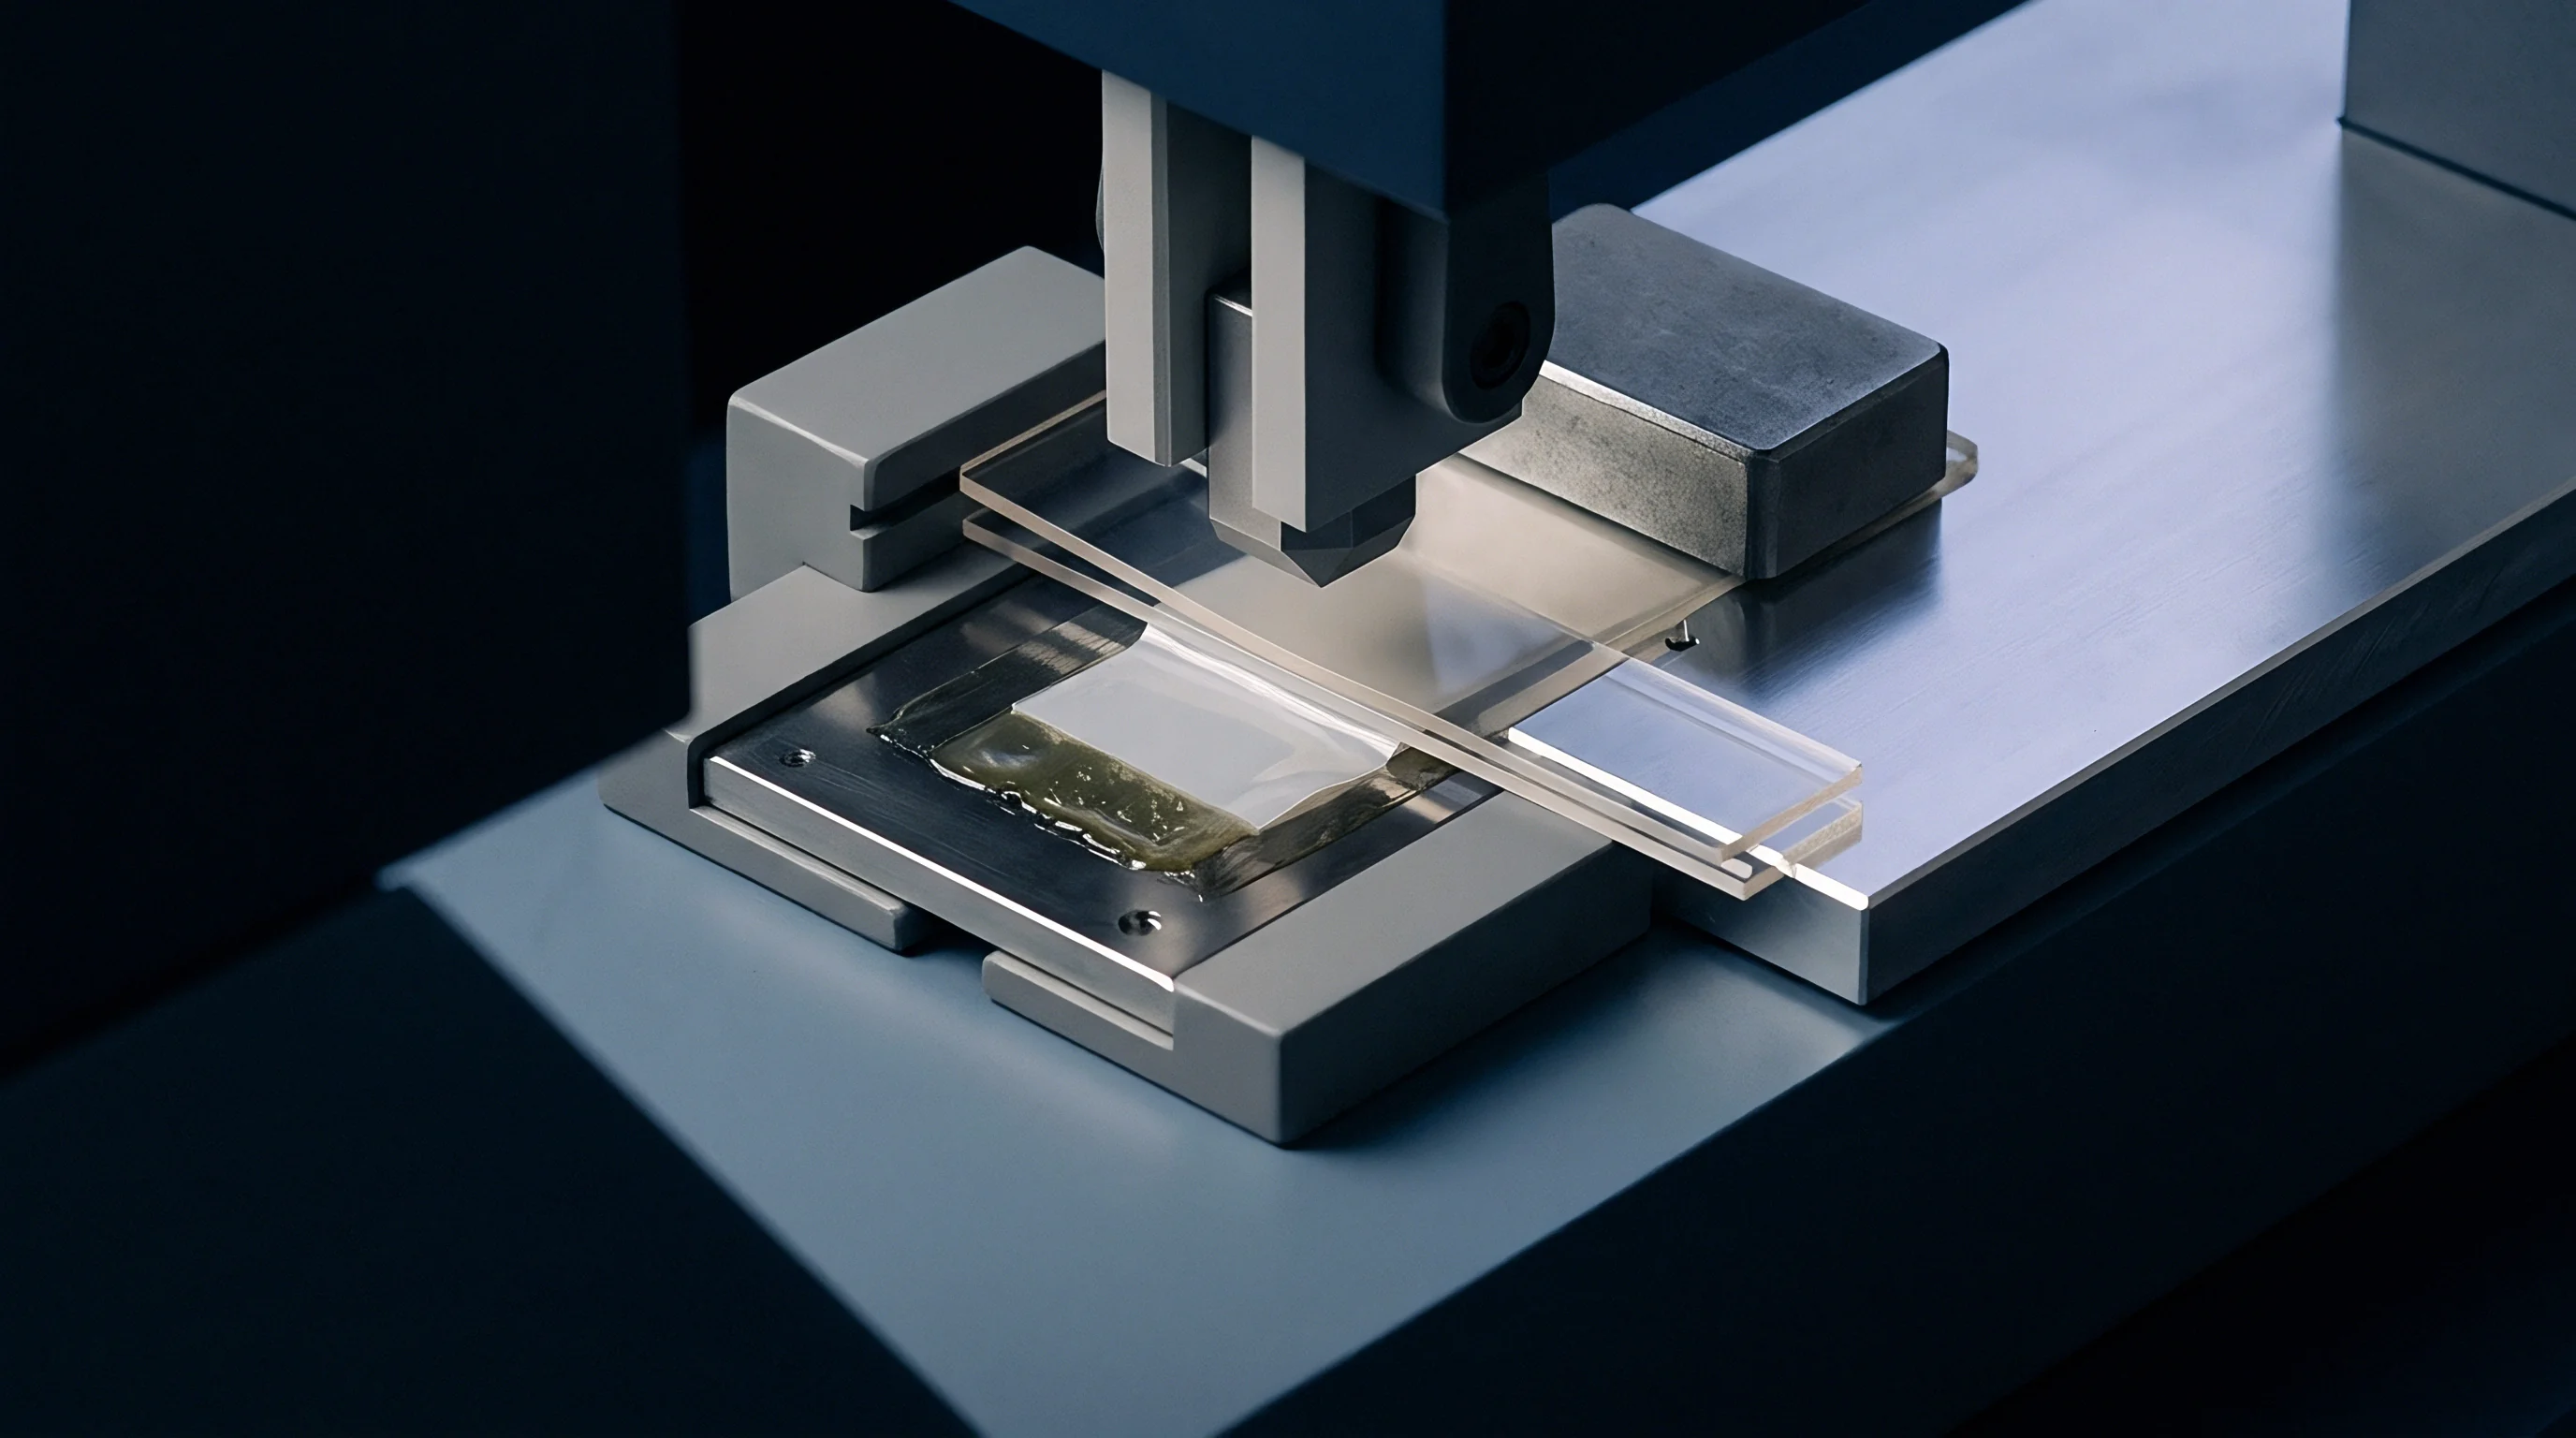
Gage
Quality check fixtures and CMM holding nests represent major capital expenditures during injection tooling procurement. Designing inspection fixtures without rigorous datum target placement mechanics leads to expensive tool rework, rejected quality dossiers, and delayed production sign-offs. Fixtures for large compliant moldings range from eight thousand dollars for simple CMM hold-down nests to over forty-five thousand dollars for fully automated pneumatic checking gages with integrated electronic indicators.
Sourcing practices must allocate fixture design responsibility early in the tooling contract, ensuring that gage designers, toolmakers, and part designers agree on datum target placement before steel cutting commences. Unclear datum target definitions force gage makers to build complex, over-constrained fixtures that introduce artificial strain during part sign-off audits.

Tooling Budget and Fixture Procurement Mechanics
Amortizing checking gage costs over low production volumes significantly inflates unit piece prices. For a low-volume medical housing running ten thousand units annually, a thirty-thousand-dollar check fixture adds three dollars per part in direct capital amortisation. Optimizing target mechanics allows quality teams to utilize universal CMM modular holding sets rather than dedicated hard gages, saving capital and shortening time-to-market windows.
| Fixturing Method | Tooling Cost (USD) | Setup Time (min) | Repeatability (Cpk) | Amortization Threshold (Units) |
|---|---|---|---|---|
| Dedicated Hard Checking Gage | 35,000 – 50,000 | 2.5 | 1.85 | > 100,000 |
| Modular Vacuum CMM Holding Nest | 12,000 – 18,000 | 8.0 | 1.62 | 25,000 – 100,000 |
| Universal Reconfigurable Pin Restraint | 6,000 – 10,000 | 15.0 | 1.33 | < 25,000 |
High-volume automotive components justify dedicated hard checking gages that deliver sub-three-minute floor-side verification cycle times. Low-volume industrial housings benefit from modular CMM holding nests where target pads adjust via precision micrometer slides, accommodating minor batch-to-batch resin shrinkage shifts without requiring complete fixture rebuilds.
- Metrologists measure unconstrained part geometry using optical non-contact scanners to record natural free-state thermal warp patterns.
- Technicians mount the molding into the inspection fixture, securing primary target pads before applying secondary locator clamps in precise numerical sequence.
- Quality operators measure target point displacement under force dial indicators to confirm that fixture actuators do not induce artificial strain.
- Inspectors run full CMM scanning routines across critical interface dimensions, recording repeatability across ten consecutive loading cycles.
Commercial clarity requires that fixture capital costs, CMM programming hours, and gage repeatability sign-offs receive explicit allocation in the initial tooling contract before steel cutting commences.