Process Window Compensation versus Tool Steel Alterations for Heavy Wall Sections
Altering tool steel to eliminate heavy wall sections cuts cycle time and unit cost far more reliably than forcing process windows past physical thermal limits.
Slab

Thermal Isolation in Thick Geometry
Thick polymer cross-sections change how heat exits an injection mold. Once nominal wall thickness passes four millimeters, conductive cooling from the molten core to the water-cooled steel drops off sharply. Amorphous polymers such as polycarbonate or polysulfone show thermal diffusivities around 0.10 square millimeters per second; semi-crystalline resins like polypropylene or polyamides fall below 0.08 square millimeters per second during crystallization.
Heat leaves the outer layer immediately on contact with the cavity steel, forming a rigid skin that insulates the core, keeping it hot long after the surface is stiff enough for ejection.
This temperature gradient causes uneven solidification through the part. Heat flux at the steel surface follows Fourier’s law, where cooling time scales with the square of wall thickness. Doubling a section from four millimeters to eight increases theoretical cooling time by four.
The skin locks in the outer dimensions while the core stays mobile, cooling without direct contact with chilled cavity steel and relying entirely on conduction through the surrounding polymer.
Internal thermal gradients drive differential volumetric contraction. Molded semi-crystalline resins shrink eight to fifteen percent by volume as polymer chains fold into dense crystalline structures, whereas amorphous resins shrink between two and five percent. Because the shell freezes first against the mold wall, volume reduction cannot draw in fresh material after gate freeze.
The core pulls inward against its hardening skin, setting up internal stresses that distort part dimensions.
Cooling times for heavy sections dominate cycle estimates on the press. Standard empirical cooling formulas show that a twelve-millimeter high-density polyethylene section needs over one hundred seconds in the mold before ejection to prevent post-mold distortion. Demolding early leaves a molten core, triggering immediate post-ejection thermal expansion, dome distortion, or wall collapse on the fixture.

Volumetric Shrinkage and Void Formation
Internal voids stem directly from local volumetric contraction when the outer skin resists inward collapse. As the molten center shrinks, hydrostatic tension builds inside the liquid core. If that tensile stress exceeds the melt’s cohesive strength at the local temperature, the polymer tears internally, leaving a vacuum void at the center of the cross-section.
Sink marks reflect the same underlying shrinkage mechanism. If the frozen skin stays warm or thin enough to yield under negative internal pressure, atmospheric pressure and core contraction pull the wall inward. This leaves visible surface depressions over thick ribs, bosses, or wall intersections.
Whether a part sinks or voids depends on skin stiffness, melt temperature, and core cooling rates.
Core pressure drops to absolute zero when the gate seals prior to complete volumetric packing, creating internal vacuum voids in sections over six millimeters.
Gate seal timing sets the pressure boundary for the core. Hold pressure from the injection screw forces extra melt into the cavity to replace shrinking volume, but packing stops the moment the gate freezes solid. In thick components, the gate cross-section often freezes long before the heavy interior reaches thermal equilibrium, cutting off pressure transmission to the core.
Resin viscosity behavior complicates deep-section packing further. Raising melt temperatures lowers viscosity and improves flow length, but it also increases total heat content, extending gate freeze and core cooling. Lowering melt temperatures accelerates skin formation, choking off the flow channel before packing reaches deep wall regions.
Molders end up with a tight processing window where slight temperature shifts swing the outcome between surface sink depth and internal voiding.
Melt compression during injection stores mechanical energy in the polymer matrix. Releasing pack pressure too early lets this energy dissipate as local backflow or localized stress concentrations. Molecular weight distribution affects how well pressure transmits across partial freeze fronts: broad distributions increase shear sensitivity, leading to uneven freeze fronts across varying wall thicknesses.
Ignoring thermal isolation during part design leaves permanent internal voids that risk sudden structural failure under moderate mechanical loads.

Window
Where Does Thermal Mass Limit Packing Efficiency?
Process technicians can adjust pack pressure profiles, hold times, injection speeds, melt temperatures, and coolant settings to push heavy-walled parts into specification. Extending hold time maximizes mass transfer while gates remain open, and technicians often raise pack pressure to extreme limits to drive material into shrinking centers. These changes push the processing window right up to the limits of the press hydraulic system and the polymer’s thermal endurance.
Excessive pack pressure creates high localized stress near the gate. As the thick core shrinks, material around the gate becomes over-packed and highly oriented. This pressure gradient causes anisotropic shrinkage along the component: minimal shrink near the gate and high shrink at the far end of the flow path, inducing severe bow and twist warpage during cooling.
Long cooling cycles degrade press productivity. A ninety-second cooling time on an eight-millimeter wall part doubles machine overhead allocation compared to an optimized forty-five-second cycle. Extended cycles also increase the risk of thermoplastic degradation.
Resin residence time inside the heating cylinder must stay within safe limits to prevent chain scission, discoloration, or reduced impact strength.
Lowering mold coolant temperature is a common tactic to pull heat from heavy walls faster. Running water-glycol circuits below five degrees Celsius chills the cavity steel and accelerates skin freezing. However, rapid skin growth narrows the flow channel prematurely.
The core stays hot, isolated, and unpacked, worsening internal voids while increasing molded-in stress at the skin-core interface.
DIN 16742 Tolerance Group TG6 specifies that dimensional stability across thick polymer sections demands verifiable gate seal times verified by continuous weight-analysis studies.
Cooling differences between core and cavity halves induce thermal bending moments. If the core side of the tool runs five degrees warmer than the cavity side, differential heat extraction pulls the heavy section toward the hotter steel. Technicians often manipulate water manifold temperatures to balance warpage, but this trades dimensional tolerance on one axis for higher internal stress and instability across the rest of the part.
Pressure Profiling and Gate Freeze Limitations
Scientific molding relies on gate seal studies to pinpoint when hold pressure stops affecting part mass. Weighing parts produced across incremental hold times reveals the flat region on a mass-versus-time plot. Once the gate freezes, additional pack time simply consumes press power without changing part density or internal void structure.
Pressure transfer drops off rapidly as the frozen wall layer thickens toward the center. Hydraulic pressure at the screw tip encounters a steep drop across the semi-solid flow front inside the cavity. Pressure sensors placed inside the heavy section show that peak cavity pressure rarely exceeds forty percent of nozzle pressure once skin thickness passes two millimeters.
Multi-stage packing profiles reduce sink depth by stepping pressure down as the gate approaches freezing. High initial pack pressure fills micro-voids while the skin forms. A lower secondary pressure prevents parting line flash as tool plates deflect under clamp load.
Finally, tertiary hold pressure maintains position at the gate without causing over-packing fractures around the runner.
- Initial pack phase drives melt into the cavity to offset primary skin contraction under maximum hydraulic effort.
- Decay transition phase reduces line pressure gradually as cavity transducers signal rising core resistance near the gate.
- Hold dwell phase maintains static pressure at the gate until runner freeze blocks backflow into the nozzle.
- Cooling phase isolation allows the internal core to solidify under local pressure gradients.
Clamp force limits how much pack pressure can be applied to large, heavy-walled parts. High packing pressures across large projected surface areas can exceed hydraulic or toggle clamp ratings, forcing mold separation. Flash forms quickly along the parting line under these conditions, forcing technicians to drop pack pressure below what is needed to eliminate internal sinks.
Lowering melt temperature reduces thermal enthalpy, cutting required cooling time in heavy walls. However, colder resin increases viscosity exponentially, requiring extreme injection pressures that generate shear heating. This shear heat concentrates in thin wall sections leading into the heavy feature, causing local thermal degradation and skin jetting.
Gas-assisted injection molding provides an alternative route for thick parts. Injecting high-pressure nitrogen into the molten center hollows out the heavy section, converting a slab into a uniform wall profile. Gas pressure acts directly on the internal melt surface, pressing polymer against the tool steel until solidification finishes.
This eliminates internal voids and sink marks, though it turns solid functional sections into hollow shapes.
Because machine adjustments hit a ceiling at the physical limits of melt compressibility, tooling modifications become necessary when process tweaks still yield scrap.
| Parameter Adjustment | Direct Physical Effect | Boundary Constraint | Defect Risk |
|---|---|---|---|
| Hold Pressure Elevation (+30%) | Increases density near gate | Clamp tonnage limit | Gate stress, flash, warpage |
| Coolant Temperature Drop (-15°C) | Speeds skin solidification | Condensation, chiller energy | Narrow gate freeze, void growth |
| Melt Temperature Reduction (-20°C) | Lowers heat enthalpy | High injection pressure limit | Shear heat, cold flow lines |
| Hold Time Extension (+10s) | Ensures full gate packing | Gate freeze completion point | Inflated cycle cost, wear |
| Data compiled from press bring-up trials on structural polypropylene and thirty percent glass-filled PBT heavy housings. | |||
Lot-to-lot material variation causes dimensional drift when the resin batch viscosity index shifts beyond what barrel temperature adjustments can correct.
Cut

Steel-Safe Tooling Alterations
Tool steel modifications offer a permanent mechanical fix for heavy-wall defects when process adjustments run out of room. Designing steel-safe means machining cavity dimensions undersized and core dimensions oversized. Leaving extra metal on the tool plates lets toolmakers machine steel away after initial T1 sampling, avoiding costly laser welding or wire EDM buildup.
Recutting tool steel directly alters local wall thickness. Removing metal from core faces thickens walls where tight fits cause issues, while machining cavity walls opens up outer dimensions to offset unexpected volumetric shrink. Every cut should rely on material-specific, anisotropic shrink values measured from real T1 samples rather than nominal resin datasheet figures.
CNC milling and electrical discharge machining (EDM) are the primary ways to alter tool steel. Hard milling P20 or H13 steels (hardened to 48 ~ 52 HRC) removes metal with tolerances down to five microns. Spark erosion using graphite or copper electrodes cleans up deep pockets, ribs, and textured areas that end mills cannot reach.
Once recut, the tool permanently alters part geometry for all future runs.
Modifying core pins alters internal wall thickness without disturbing outer cosmetic surfaces. Increasing pin diameter thins heavy walls from the inside out. Dropping a local wall section from eight millimeters to five eliminates thermal isolation, aligns cooling rates with surrounding walls, and prevents voids without changing the part’s external fit.
Correcting for shrinkage across large tools requires re-machining feature positions. As heavy sections cool, they pull nearby thin features toward their thermal center. Adjusting pitch distances between core pins means relocating pin bores in the ejector and retainer plates, with toolmakers offsetting bore centers using CMM data taken from parts conditioned for forty-eight hours.

Sink Compensation and Wall Modification
Sink compensation uses reversed reliefs in the tool steel. Machining a small raised pad on the cavity surface directly opposite a heavy rib intersection pushes the sunken outer skin back to the nominal plane line. The finished part retains a flat surface even as volumetric contraction pulls material inward during core cooling.
Modifying rib geometry prevents sink marks where structural features intersect. Standard design rules cap rib base thickness at fifty percent of the adjacent main wall. When a heavy wall needs stiffening, toolmakers cut multiple shallow, parallel ribs instead of a single thick rib.
Splitting wide features into thin, multi-rib networks allows rapid cooling without sink marks.
- Uncompensated thick intersection sink pulls cosmetic surfaces inward, distorting sight lines along aesthetic features.
- Localized skin stress concentration leads to micro-cracking at internal corners under cyclic loading.
- Warpage driving differential shrink twists long flat surfaces as heavy sections drag adjacent thin walls past yield limits.
- Ejection pin push-through damage occurs when soft, warm cores deform under ejector pin pressure during demolding.
Coring out solid bosses turns isolated thermal masses into uniform cylindrical walls. Replacing solid core steel with stepped pins forms hollow internal features. Keeping a steady two-to-three-millimeter wall profile around screw bosses prevents sink on cosmetic surfaces and avoids long cooling delays.
Parting line adjustments eliminate micro-flashing caused by the elevated pack pressures heavy sections require. Re-spotting tool plates on press tryouts ensures clean contact across sealing surfaces; toolmakers use bluing ink to find high spots and hand-stone the steel until contact reaches ninety-five percent across the block face.
Adding relief chamfers removes non-functional mass from heavy corners. Machining diagonal fills into cavity corners reduces wall volume and balances thermal mass across geometric shifts. More uniform walls promote linear heat extraction, lowering internal stress and reducing overall warpage.
Tool steel removed cannot be replaced without expensive laser welding, making conservative steel-safe incremental cuts mandatory for dimensional tuning.
| Correction Strategy | Tooling Cost Exposure | Lead Time Impact | Cycle Time Effect | Dimensional Repeatability |
|---|---|---|---|---|
| Core Pin Thinning | Moderate ($2,500 – $5,000) | 3 – 5 days | Reduces 25-40% | High (Cpk > 1.67) |
| Sink Compensation Pad | Low ($1,200 – $3,000) | 2 – 4 days | Neutral | Moderate (Cpk ~ 1.33) |
| Pack Pressure Profile | Zero direct tool cost | Immediate | Extends 10-30% | Low (Cpk |
| Melt Temp Dropping | Zero direct tool cost | Immediate | Reduces 5-10% | Poor (High stress) |
Recutting core geometry using T1 shrink data fixes sink defects permanently without adding time to the press cycle.

Insert

High Conductivity Alloy Integration
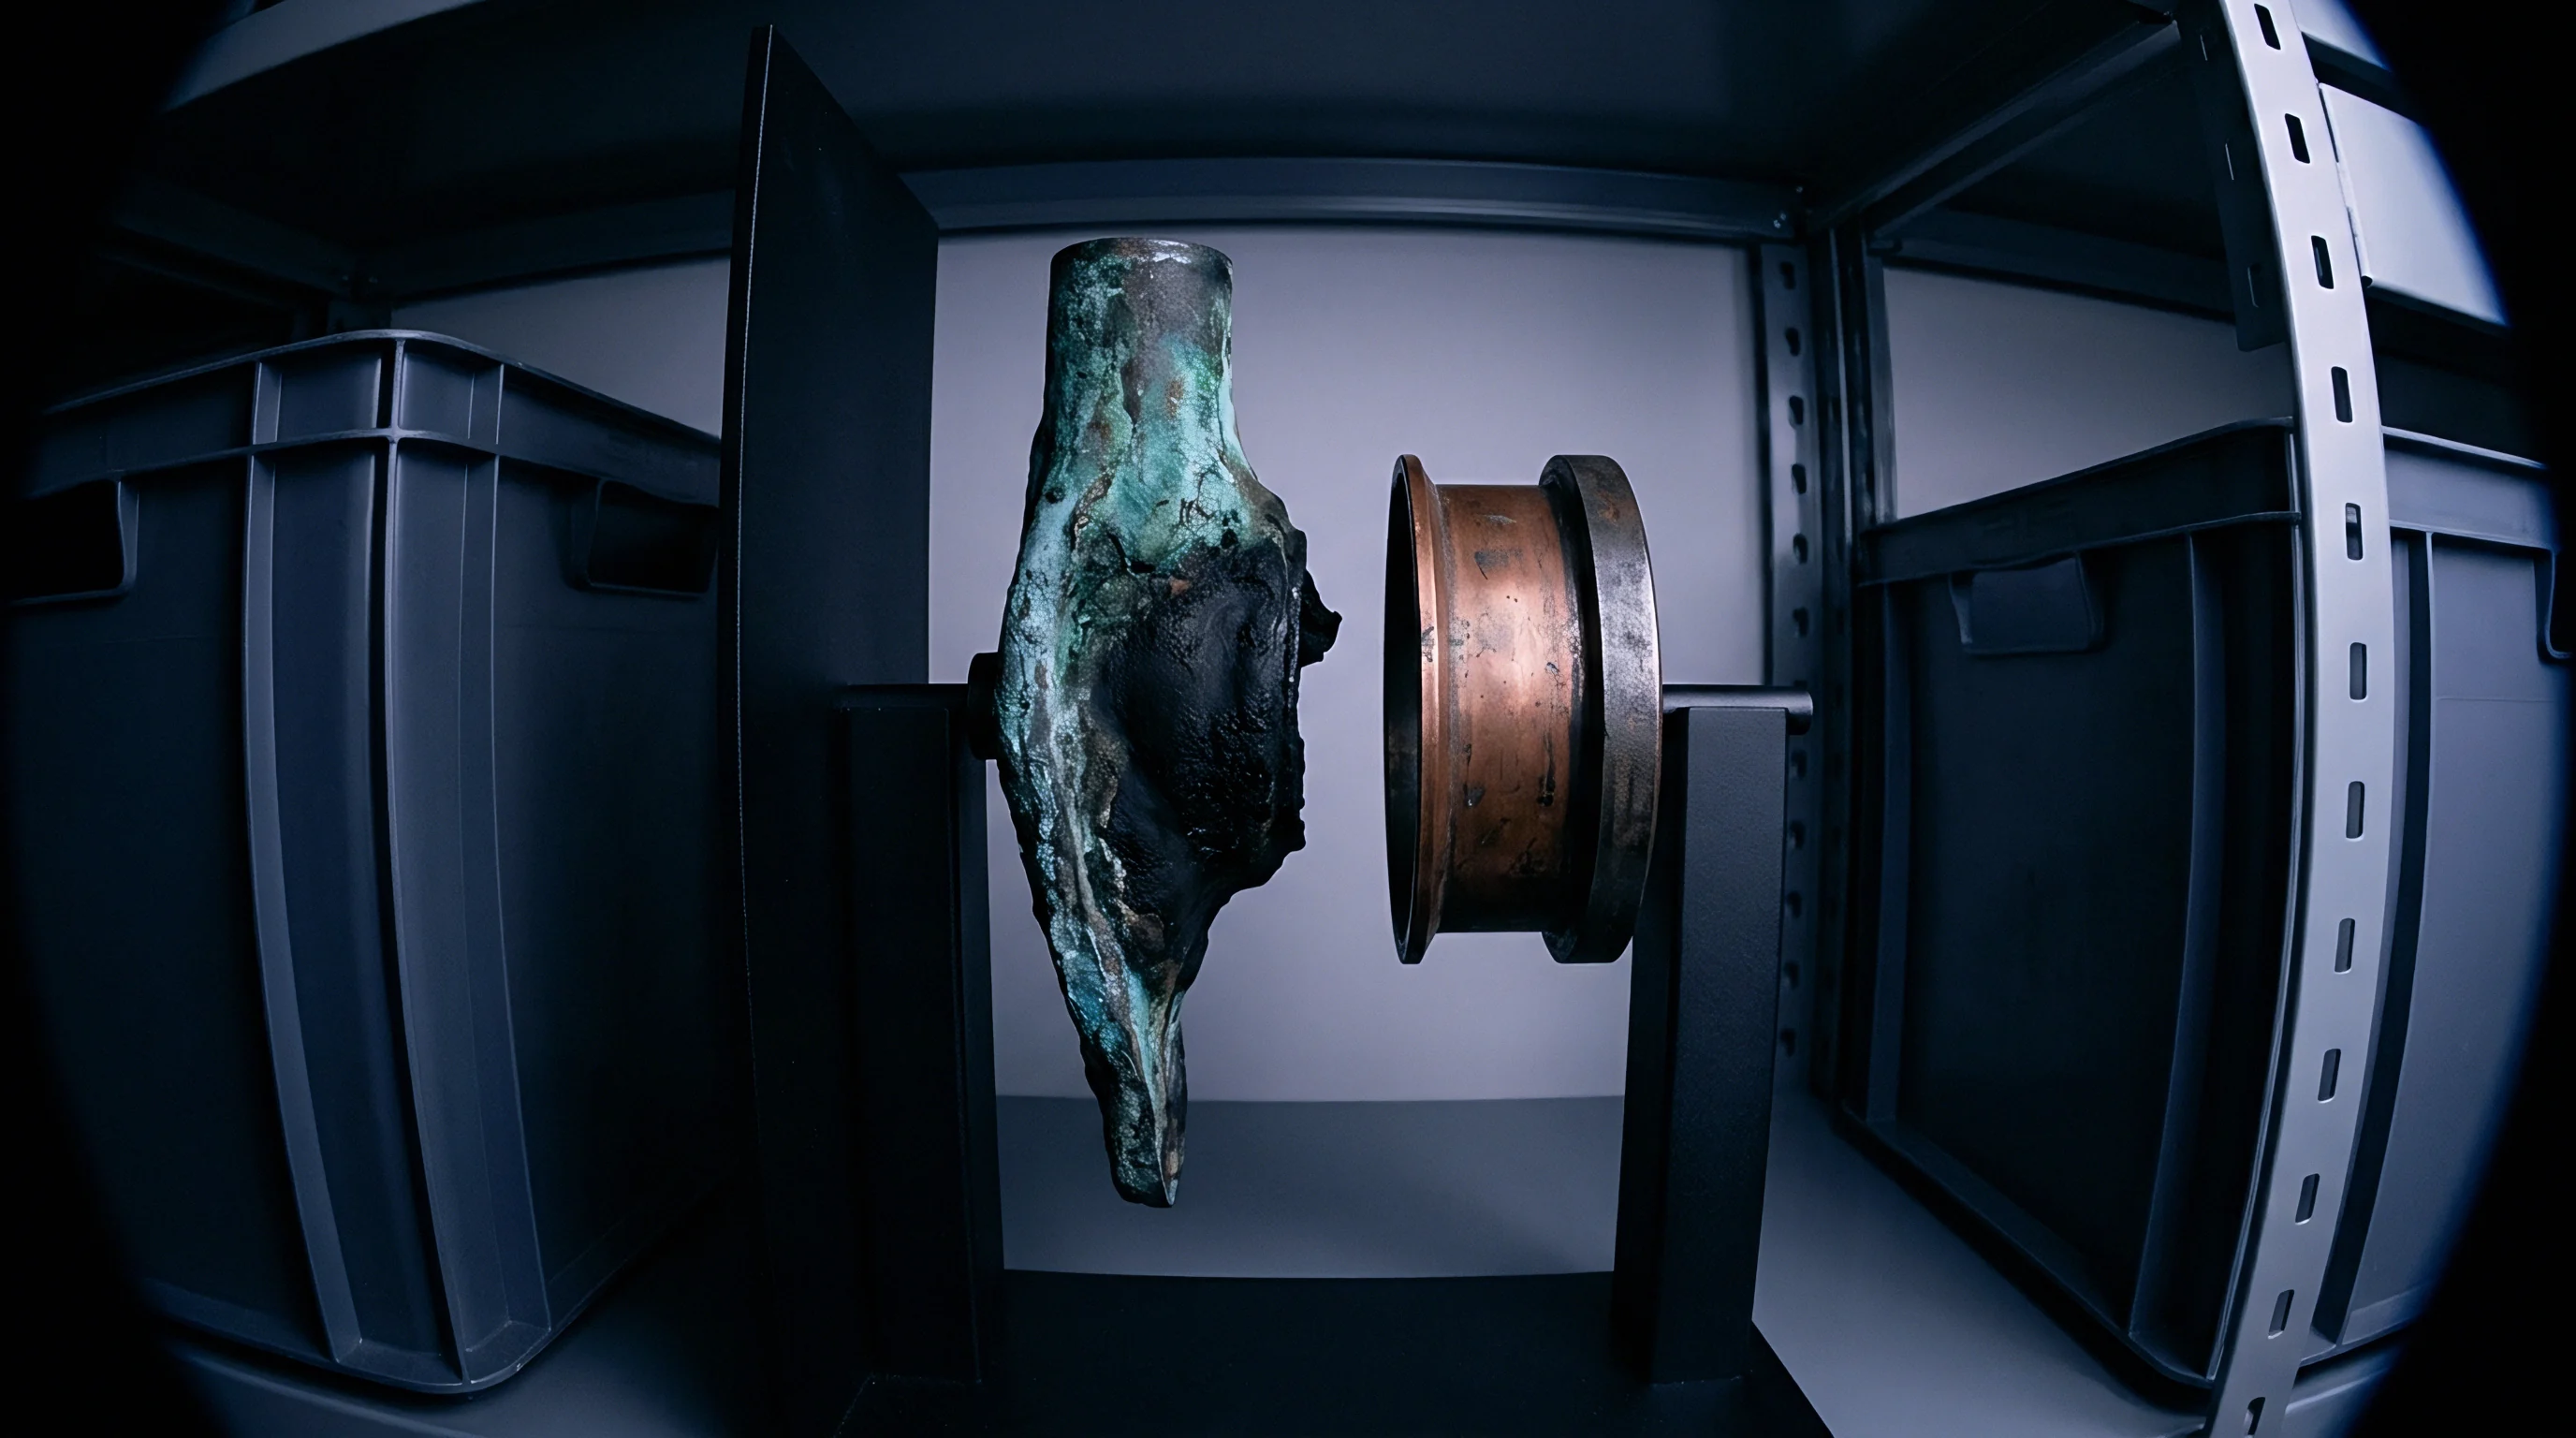
Swapping standard tool steel for high-conductivity copper alloys speeds up heat extraction in isolated heavy sections. Standard tool steels like P20 and H13 have thermal conductivity ratings around 24 to 29 Watts per meter-Kelvin. Beryllium-copper alloys reach 100 to 240 Watts per meter-Kelvin, while copper-nickel-silicon alloys deliver up to 200 Watts per meter-Kelvin.
Placing high-conductivity inserts in core regions pulls heat out of thick walls quickly, bypassing the bottleneck of tool steel.
Copper core pins lower internal wall temperatures faster than water lines can manage in tight spaces. In deep cores where cooling lines will not fit, solid copper alloy pins conduct heat down to water channels in the main tool plate. This flattens the thermal gradient along the pin, cooling the interior surface evenly and stopping void formation.
Thermal expansion differences between copper alloys and steel demand precise machining clearances. Beryllium-copper expands at roughly 17 x 10^-6 per Kelvin, compared to 12 x 10^-6 per Kelvin for H13 tool steel. Toolmakers engineer precision slip fits to accommodate this difference, preventing insert galling or pocket distortion at operating temperatures between 40 and 80 degrees Celsius.
Because high-conductivity alloys are softer, placement must be selective. Beryllium-copper tops out around 40 HRC, making it softer than hardened H13 at 50 HRC or S7 steel. Using copper in high-wear areas like parting lines or shut-offs risks premature wear, burring, and flash.
Consequently, engineers keep copper inserts limited to internal core faces, deep ribs, and non-cosmetic pockets.
Surface coatings improve insert durability. Electroless nickel, PVD titanium nitride, or diamond-like carbon coatings protect copper alloys from abrasive glass-filled resins and corrosive gas from flame retardants. Thin coatings under five microns preserve heat transfer while protecting against scuffing and erosion.
Conformal Cooling Channel Implementation
Conformal cooling uses 3D printing to build inserts with cooling channels that trace the exact contours of heavy wall sections. Direct metal laser sintering in 1.2709 maraging steel forms internal passages that gun drilling cannot match. Keeping a constant distance between cooling paths and the cavity surface eliminates local hot spots across varying wall thicknesses.
Designing conformal circuits for turbulent flow improves heat removal. Keeping the Reynolds number above 4,000 ensures turbulent flow, which pulls heat out of the steel much faster than laminar flow. Smoothly curved transitions prevent stagnation areas, reducing pressure drops across the insert and allowing higher flow rates from temperature control units.
Channel distance from the cavity surface determines thermal response. Running four-millimeter conformal passages six millimeters from the cavity face delivers uniform cooling through heavy sections. Placing channels closer risks wall deflection under injection pressure, which can cause steel failure or micro-fracturing along printed grain boundaries.
Conformal channels require clean water filtration. Small passages clog quickly if rust, scale, or minerals build up inside printed lines. Closed-loop water systems using demineralized fluid and five-micron filters maintain design heat transfer performance across long production runs.
- Evaluate core thermal load by calculating peak local wall mass and thermal energy output per cycle.
- Select insert material based on wear requirements, expected tool life, and required thermal conductivity.
- Design cooling geometry to maintain uniform steel-to-water distance across thick feature contours.
- Verify fluid pressure drop to ensure channel velocity maintains Reynolds numbers above four thousand at press flow rates.
Replacing standard H13 core pins with high-conductivity copper inserts cuts cooling time by thirty-five percent on ten-millimeter wall structural components.
Per ISO 20753 guidelines, insert material substitutions must maintain surface temp uniformity within four degrees Celsius across the cavity face to prevent post-molded distortion.
The supply contract stipulates that tool modification charges for high-conductivity insert retrofits fall entirely on the tooling vendor if T1 samples exhibit sink depth exceeding DIN 16742 TG6 limits under nominal processing conditions.


Distortion
Dimensional Tolerancing under DIN 16742
Geometric stability in heavy wall moldings follows established standards like DIN 16742, which ranks part dimensions from TG1 for high precision down to TG9 for loose structural parts. Thick wall sections show wider dimensional variation due to residual stress and prolonged shrinkage. Applying tight TG3 tolerances to an uncored eight-millimeter section simply drives up scrap.
Anisotropic shrinkage invalidates simple linear tolerance assumptions across long dimensions. Semi-crystalline resins shrink at different rates along and across the melt flow direction. In thick sections, skin molecular alignment contrasts with random crystallization in the slow-cooling core, setting up asymmetric stress that warps flat surfaces into curves that standard CMM checks can miss.
Shrinkage continues long after parts leave the mold. Thermal relaxation happens mostly in the first twenty-four hours, but semi-crystalline resins like polyamide or polyoxymethylene undergo secondary crystallization and moisture pickup for weeks. Qualifying heavy wall dimensions requires strict conditioning protocols, taking measurements exactly forty-eight hours after ejection under controlled conditions (twenty-three degrees Celsius and fifty percent relative humidity).
Cooling fixtures prevent warpage immediately after ejection. Placing warm parts onto precision jigs holds key outer dimensions true while internal cores finish solidifying. Fixtures trade press cycle time for bench labor; however, removing parts too early allows residual internal stress to resume warping the part.
Thickness variation across adjacent features drives overall part distortion. Sharp transitions between thin and thick sections build up stress along the freeze front. Designing smooth, tapered transitions with slopes under fifteen degrees avoids abrupt stress steps, allowing material to shrink uniformly without pulling adjacent ribs out of alignment.
Nondestructive Volumetric Inspection
Industrial CT scanning reveals internal voids without destroying the sample. 3D voxel models of heavy interiors pinpoint void locations, volumes, and wall thickness variation, showing whether voids gather into a single vacuum pocket or scatter as micro-void clouds along the core.
Void acceptance criteria need to distinguish between cosmetic flaws and structural risks. Voids along the neutral axis of a section under bending have little effect on flexural strength, but voids near outer surfaces severely weaken fatigue and impact resistance. Ultrasonic testing offers press-side checks, measuring acoustic attenuation shifts between solid resin and internal voids.
Destructive sectioning remains a simple, low-cost way to audit production batches. Slicing thick sections with a wet diamond saw exposes void distributions, sink profiles, and weld line integrity. Polishing the cross-sections and viewing them under polarized light highlights birefringence patterns, showing residual stress concentrations around heavy wall intersections.
Volumetric void compliance for heavy structural moldings follows a standard audit sequence:
- Condition five part samples at twenty-three degrees Celsius for forty-eight hours after press ejection.
- Perform full-volume industrial CT scanning at fifty-micron voxel resolution across designated heavy cross-sections.
- Calculate maximum single void volume and cumulative void volume percentage relative to the local feature envelope.
- Verify void boundaries remain separated from outer tensile load surfaces by at least two wall thicknesses.
- Cross-check physical part weight against theoretical CAD volume multiplied by base resin specific gravity.
CMM inspection must account for part compliance under clamping loads. Flexible heavy parts can flatten under probe force or fixture clamps, hiding true free-state warpage. Non-contact 3D optical scanning captures unconstrained geometry, comparing point clouds to CAD models to generate full-field deviation maps.
Process monitoring uses part weight as a direct proxy for density and void control. Weighing parts on analytical balances catches gate seal issues quickly: a drop in part mass signals early gate freeze or insufficient packing pressure before parts move to secondary operations.
Does the final assembly requirement permit a five percent internal volumetric void if outer dimensions hold DIN 16742 TG5 tolerances?

Valuation

Cycle Time Inflation versus Steel Tooling Expenditure
Choosing between process tweaks and tool modifications comes down to piece price versus upfront capital expenditure. Extending cycle times to handle thick walls avoids tooling charges, but adds a continuous financial penalty to every part produced. With press rates running sixty to one hundred fifty dollars per hour depending on clamp tonnage, cycle seconds drive high-volume production costs.
Adding twenty seconds of cooling on a four-hundred-ton press accumulates significant cost over a multi-year run. Across two hundred thousand units, those extra seconds add more than eleven hundred press hours. That cumulative press time quickly exceeds the one-time cost of recutting tool steel or installing high-conductivity inserts.
Tool alterations are fixed upfront investments that lower variable unit costs. Modifying steel cores to thin out a heavy section runs two thousand to seven thousand dollars in machining and sampling fees. Trimming fifteen seconds off cooling drops unit costs on every subsequent production batch, delivering a fast return on the tooling change.
Cavitation shifts the financial tipping point dramatically. Multi-cavity molds multiply cycle time penalties across every shot: a four-cavity tool running a slow cycle wastes four times the press capacity of a single-cavity mold. High-cavitation production tooling easily justifies upfront steel modifications and inserts to maximize output per machine hour.
Scrap rates from unstable processing windows add hidden costs to unmodified tools. Trying to hold tight tolerances on heavy walls using high pack pressure and extreme cooling creates a narrow processing window. Shifts in ambient temperature, regrind ratio, or hydraulic oil viscosity pull the process out of capability, driving up scrap and eating into margins.
Break-Even Volume Dynamics
Break-even analysis identifies the unit volume where tool steel modification becomes more profitable than process padding. The calculation weighs total tool modification cost against cumulative press savings per part. Below break-even volume, absorbing longer cycles on unmodified steel minimizes risk; above it, tool alterations yield lower landed part costs.
Tooling downtime must be factored into financial payback. Recutting steel means pulling the mold from the press, disassembling plates, shipping parts to the toolroom, and running new trials. Downtime costs and delivery delays can easily wipe out minor cycle time gains if modifications happen during peak product launches.
| Cost Component | Option A: Process Window Padding | Option B: Core Pin Steel Modification | Option C: Conformal Insert Retrofit |
|---|---|---|---|
| Initial Tooling Modification Cost | $0 | $3,500 | $8,200 |
| Production Cycle Time | 72 seconds | 48 seconds | 38 seconds |
| Total Press Hours (100k units, 2-cavity) | 1,000 hours | 667 hours | 528 hours |
| Press Machine Rate ($80/hour) | $80,000 | $53,360 | $42,240 |
| Total Financial Landed Expenditure | $80,000 | $56,860 | $50,440 |
Option B saves over twenty-three thousand dollars compared to Option A over a one-hundred-thousand-unit production lifecycle, paying back the three-thousand-five-hundred-dollar toolroom recut cost within the first fifteen thousand parts. Option C yields even lower landed costs despite higher initial insert fabrication, demonstrating the economic advantage of aggressive thermal management in high-volume runs.
Amortizing tooling changes across small runs rarely makes financial sense. If lifetime production is only two thousand units, press-hour savings from steel modifications amount to a few hundred dollars ~ far short of recovering toolroom costs. Low-volume specialty parts favor process padding despite cycle time penalties.
Quality risk scales directly with production volume. High-volume automotive or medical parts carry severe warranty and sorting risks if latent voids cause field failures. Permanent tool modifications establish reliable part geometry, taking operator intervention out of the equation and maintaining consistent long-term capability.
Tool ownership clauses dictate who pays for modifications. When buyers own the mold, alterations require formal engineering change orders and buyer sign-off. When molders retain ownership under unit-price contracts, the processor absorbs modification costs directly to protect operating margins against cycle time inflation.
Long-term commercial analysis confirms that modifying tool steel early to optimize thermal design remains the most effective strategy for controlling heavy-wall part costs.